Car Shooting 101


- Pick 3 spots (2 primary, 1 backup) – this will allow your shoots to match a theme or scene for each set of images.
- Be aware of your surroundings. What is your backdrop? Is it too busy? Keep the background congruent and the color as consistent as possible.
- Is the area safe? Some of the coolest urban locations for shoots can be in sketchy areas. Sincerely – the last thing you want is having to worry about the car as well as yourself. Think about whether you'll have to deal with security or people bothering you. It's tough to get a good groove going shoot-wise while these things are going on.
- Does this location work with lighting? Anything that may be obstructing your shot during the time of day?
- Early AM and late afternoon lighting works best – these hours provide the best warm natural light.
- Early AM and late afternoon also tend to have less traffic overall (both foot-wise and traffic-wise). Sunday's are my favorite days to shoot as that also narrows down the amount of people onsite.
- Check the sunrise/sunset before you schedule and organize your shoot. Google is your friend.
- Just as in picking the location, watch for obstructions (trees etc). Which way will the car face/which way are you shooting? Keep the light on the vehicle.
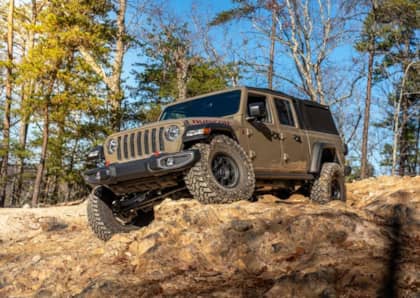
- Hero shot
- Front ¾ of the car
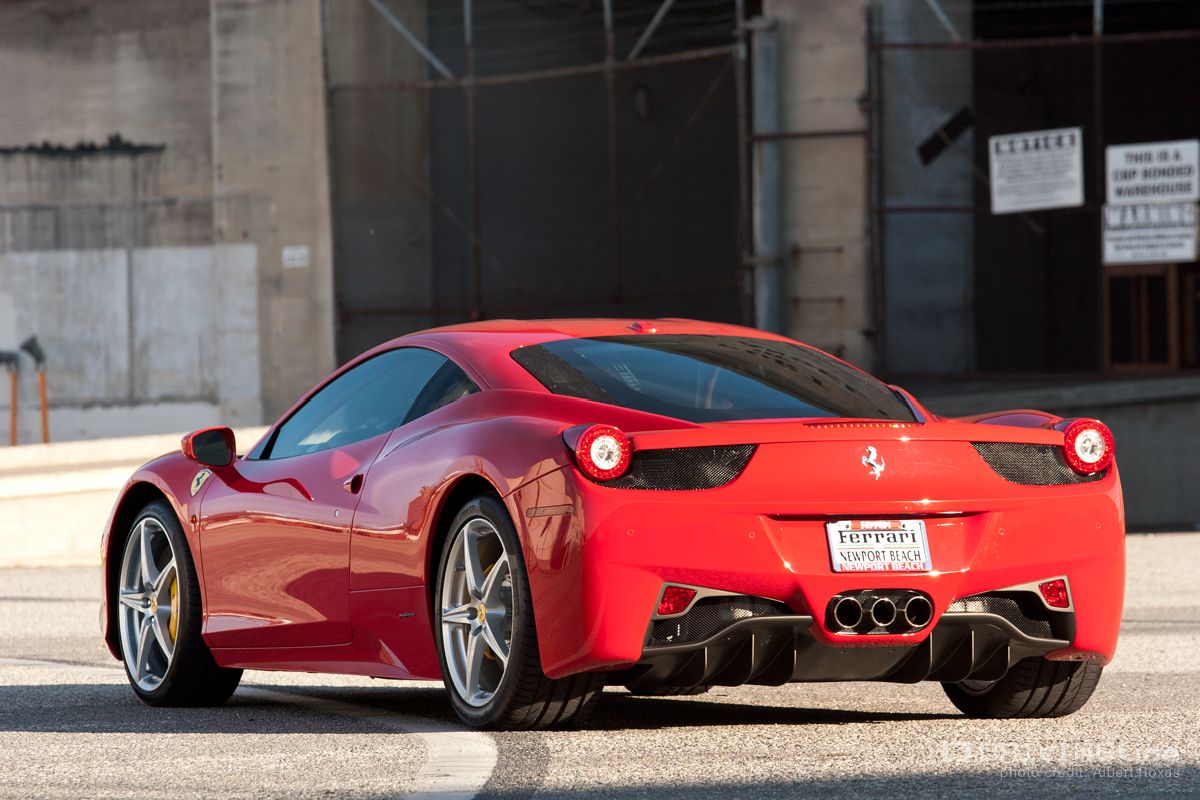
- Rear ¾ of the car
- Interior
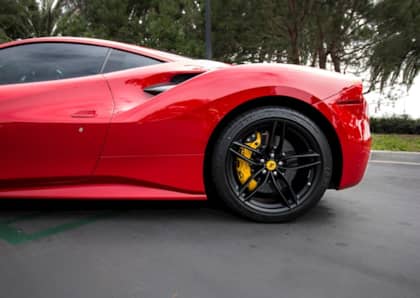
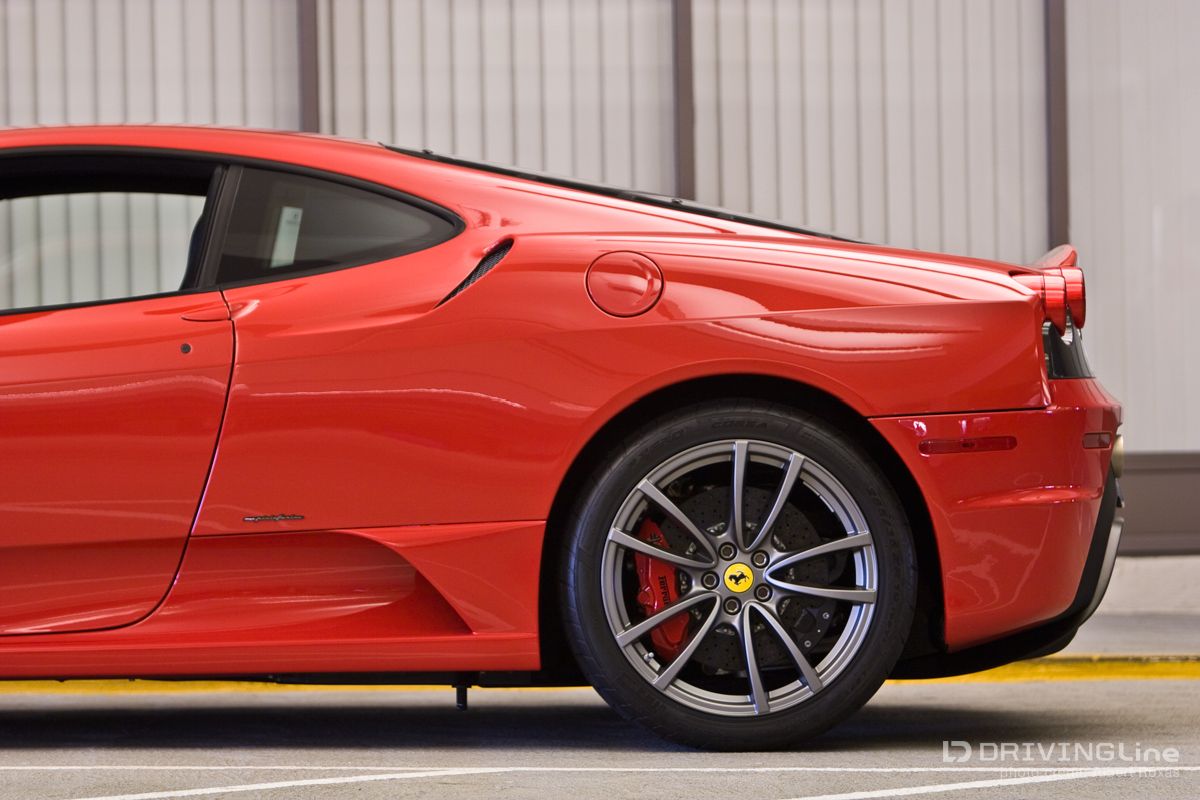
- Wheel closeup
- Any particulars that are special about the vehicle.
Next, equipment list:
- Backup batteries
- CF cards
- Tripods
- Reflectors, etc.
Last, location list:
- 2 primary and 1 backup
Next, the 3 “C’s”: 
- Make sure your car is clean.
- Make sure all of your lenses are clean.
- Make sure all of your equipment is clean.

- Check the weather, you want to be comfortable.
- Pick solid colors, preferably on the darker side regardless of the color of car you’re shooting (don’t forget the shoes as well) - you don't want to see your reflection in the car's surface. A polarizer will help with dark cars, but the less you have to edit post-shoot the better.
COMPANY - anyone going with you?
- They could possibly move the car for you or help hold equipment; this is very helpful under tight time frames.
- An extra body is good for security…and to possibly calm a security guard (depending upon your location of course).
Having shot magazine covers, features and images for 10 years now, there’s always something more to learn. This list of tips and tricks can go on for ages (and we hope to bring you more soon) but hopefully this gives you some additional help and insight in providing a better shoot for your vehicle. -Albert Roxas