JK Boot Camp: Dropping Pounds & Increasing Angles
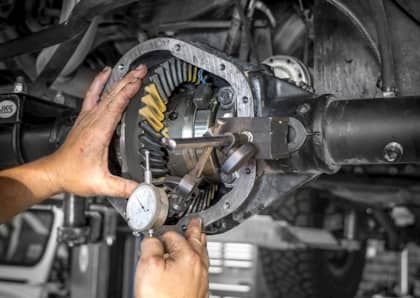
When it comes to finding that perfect summer body, we’re probably not the place to look... unless you’re looking to shed pounds from your Jeep! After putting new differential gears in our 2013 Jeep Wrangler Unlimited Rubicon, we were finally getting the pep back in the JK we were missing. But, we were still looking for more ways to increase on- and off-road performance.
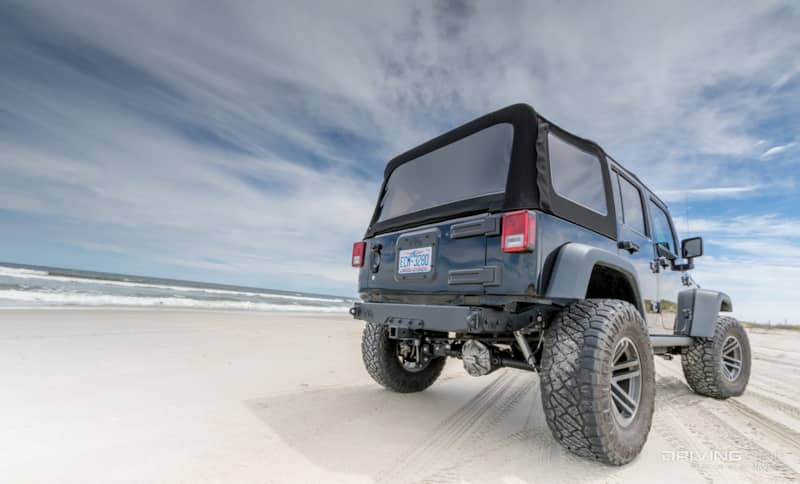
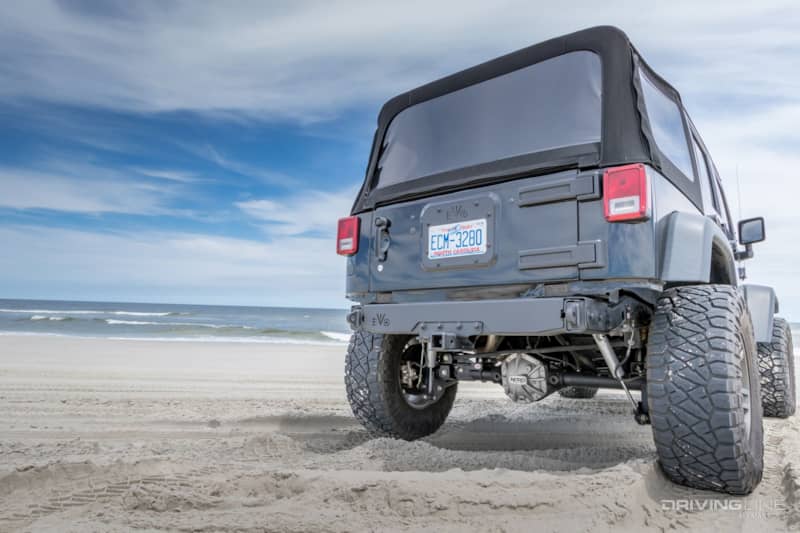
One area we knew we could shed some pounds was out back. Toting around our fullsize 35x12.50R17 Nitto Ridge Grappler is a must on the trail, but for daily driving, it’s not as critical. While just pulling the spare tire off is one way to shave some pounds, it still leaves the bulbous assortment of plastic out back. Thankfully, there’s an easy and lightweight solution for cleaning up the look, while increasing the departure angle.
Our new Jeep fitness pack came from EVO Manufacturing. With a few affordable and lightweight components, we were able to transform the rear of our Jeep in a couple of hours. While the video above offers insight into the install, we’re breaking down the details in the article below.
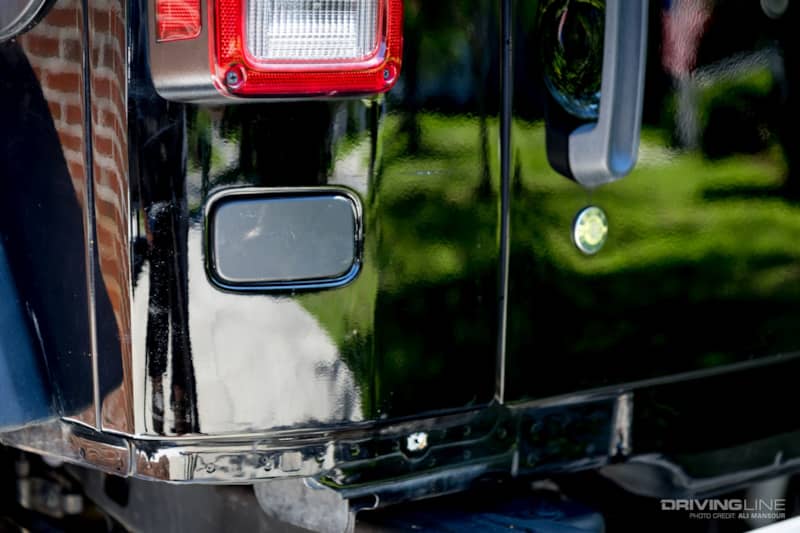
Since we plan to put our spare tire inside of the Jeep for ‘wheeling trips, we wanted to remove the stock rear tire carrier. Once you unplug the third brake light from the inside of the tailgate, you can unbolt the eight bolts that hold the carrier in place. After you remove it, you can pop out the tailgate vent, rubber plugs, and tire support bumpers. To fill the small holes left behind by the rubber bumpers, we picked up this plug set from eBay.
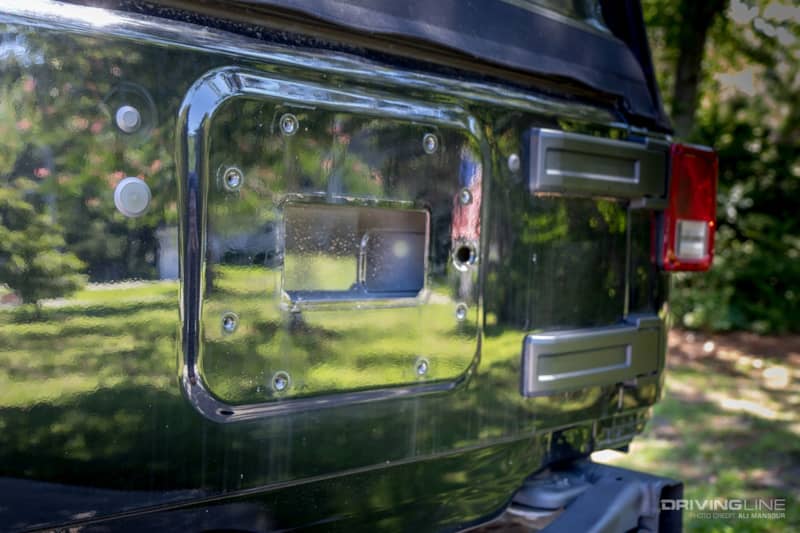
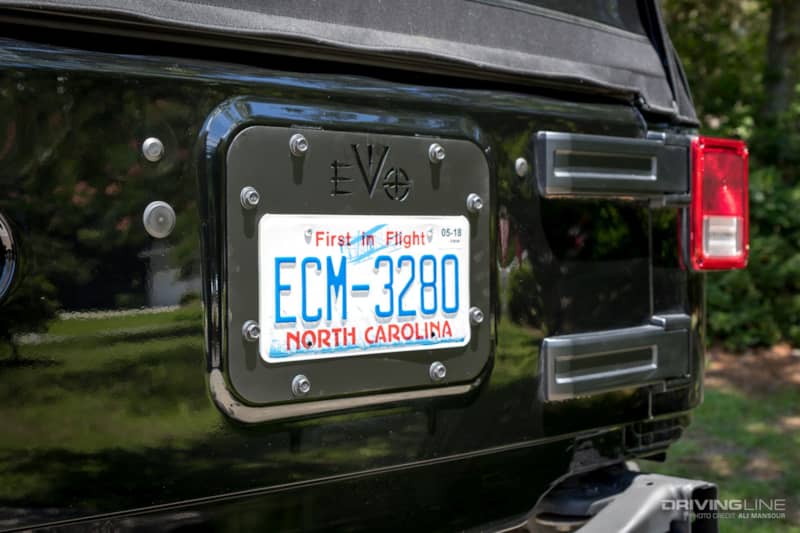
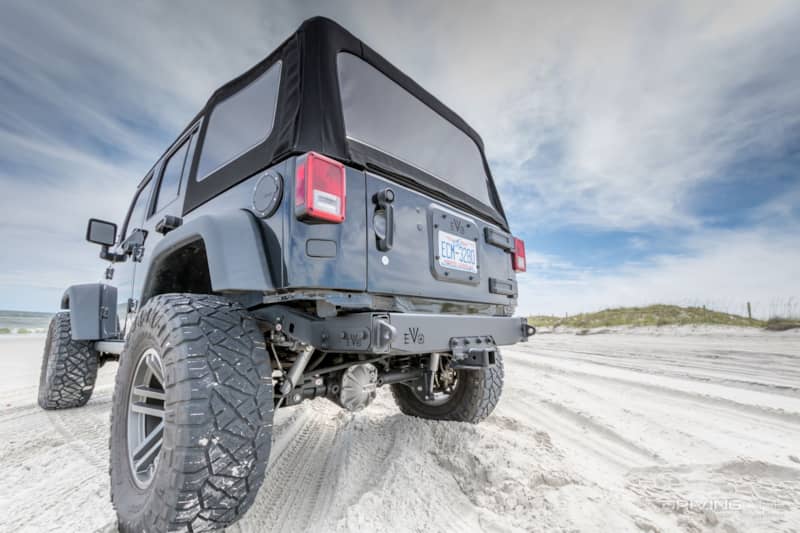
We’ve dislodged our stock license plate bracket on the trail on previous JKs in the past, so it was one part we knew we wanted to delete. To cover the hole left behind, we picked up this Mopar Delete Plate.
The EVO Mfg. Gate Plate Vent Delete gives us a new place to attach our plate and bolts in place of the stock tire carrier. Given it’s made of aluminum, there wasn’t a weight penalty associated with the upgrade.
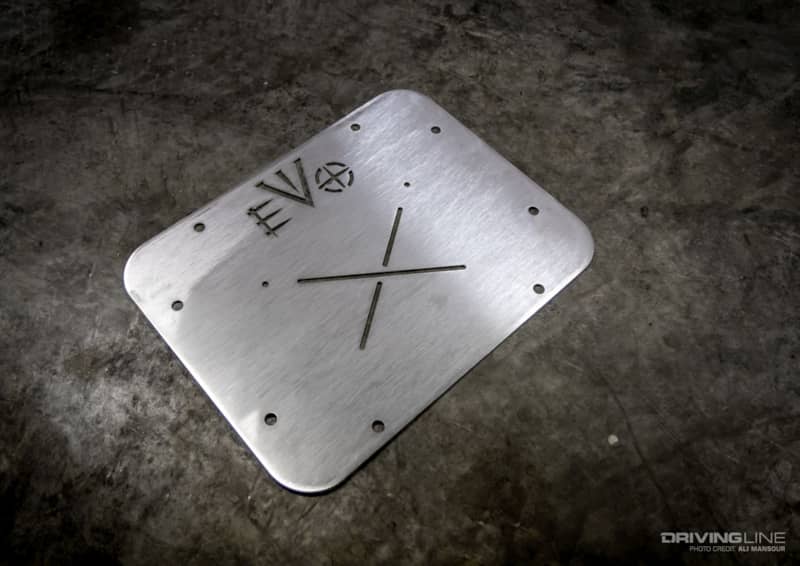
We opted to treat the Gate Plate Vent Delete to a Krylon Flat Black finish. Since the Vent Delete comes with holes for the plate and tailgate, all we had to do is re-use the stock tire carrier mounting hardware and bolt it in place.
Our plastic rear bumper was starting to fade and didn’t offer much in the looks department, so we opted to pull it. To cover the now exposed rear crossmember, we order an EVO Mfg. Rear Fascia. The 3/16-inch aluminum bumper works perfect with the EVO D-rings we were installing as well.
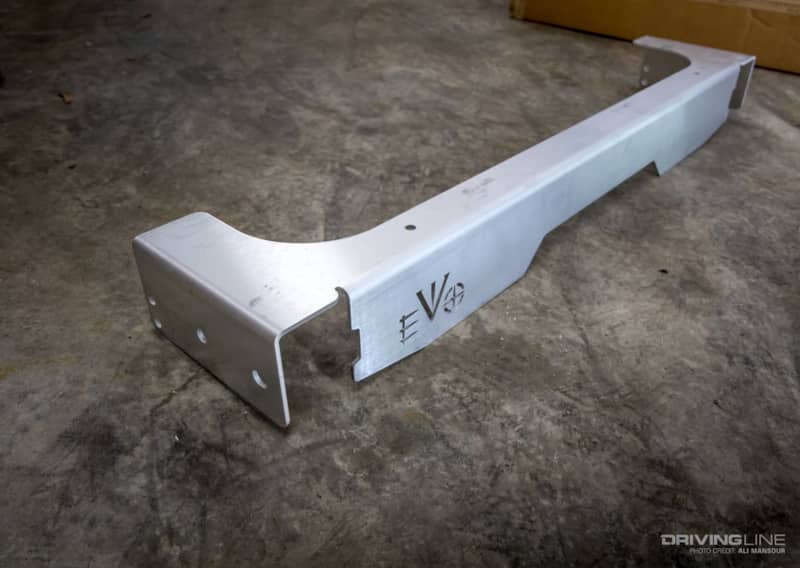
While we like the look of the bare aluminum, ultimately we decided to paint the EVO Fascia black as well. The lightweight unit slide over the framerails without issue and was notched perfectly for our receiver. Since it stays tucked high against the crossmember, we don’t forfeit any departure angle.
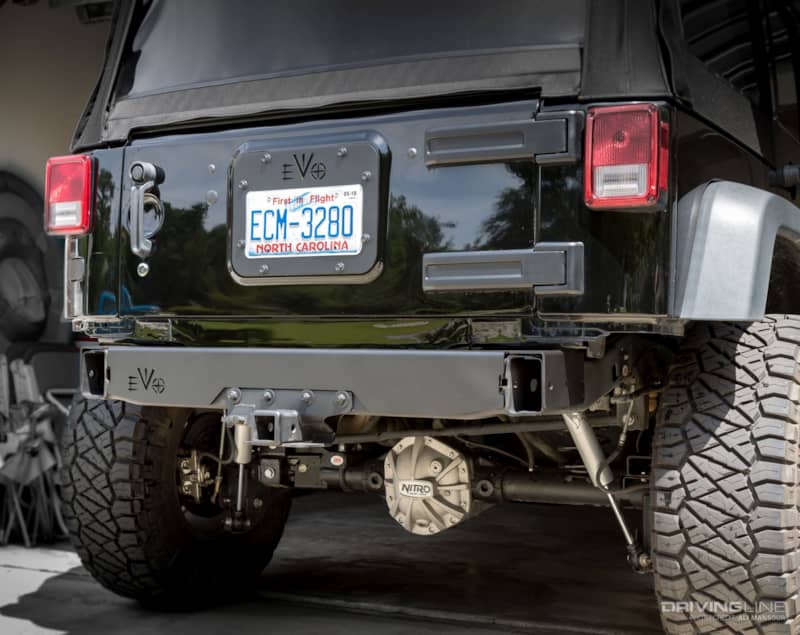
To give us some extra recovery points out back, we used EVO Mfg.’s Bolt-On D-Ring Mounts. These ¾-inch steel D-rings come powdercoated and with the necessary hardware.

EVO’s D-Ring system is a completely bolt-on upgrade with no drilling required. However, if you would like your D-ring base to sit flush with the rear framerails, you’ll need to spend a little time with a Sawzall and grinder. It’s an extra step in the install process, but will creates a cleaner finished look.
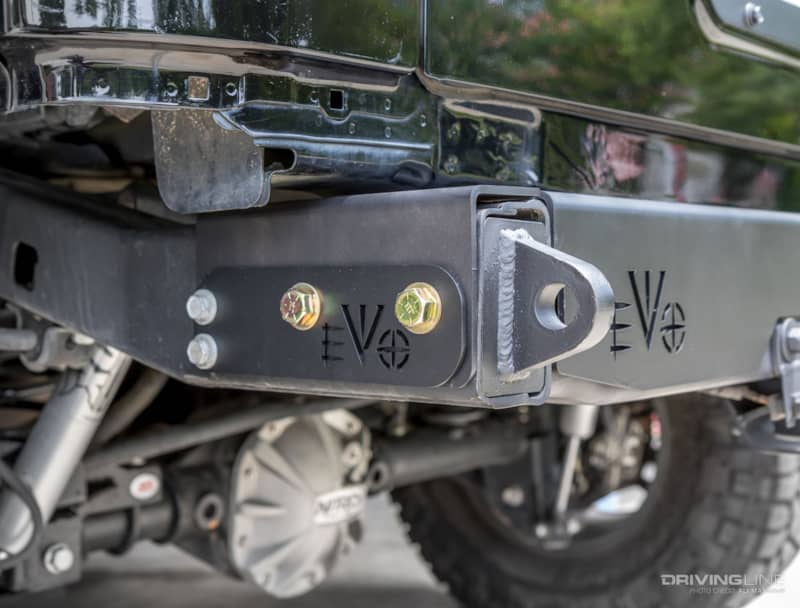
While two of the stock bumper bolts are used on each side for the D-rings, two grade 8 through bolts are there to do the heavy lifting so to speak. The one at the very rear of the Jeep uses a flag nut, which you’ll need to clearance the back crossmember slightly to insert. Attaching the forward bolt’s nut is extremely easy as it sits just below the rear body mount.

Once you have all the bolts for the D-rings and fascia in place, secure them to the provided torque figures. Another item you may notice we removed is the stock rear muffler. Since our JK’s only running a modest 2.5 inches of lift, the muffler was often the first thing to get smashed when dropping off of steep ledges on the trail. We replaced it with a small inline muffler that sits just after the stock resonator.
Overall, we’re extremely pleased with our new setup. We shaved weight, gained clearance and cleaned up the looks of the Jeep. When we do end up hitting the trail, we'll have plenty of space in the cargo area to toss our fullsize spare. The added rear visibility is also a major bonus.