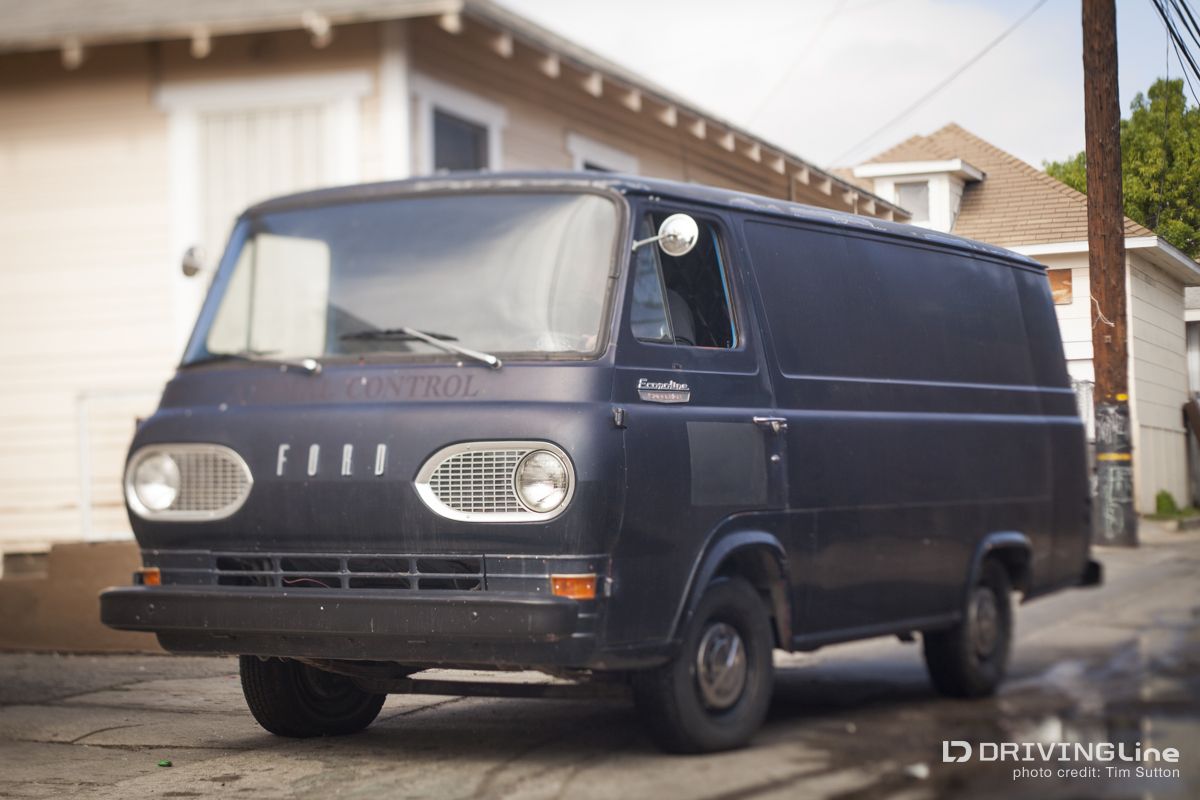
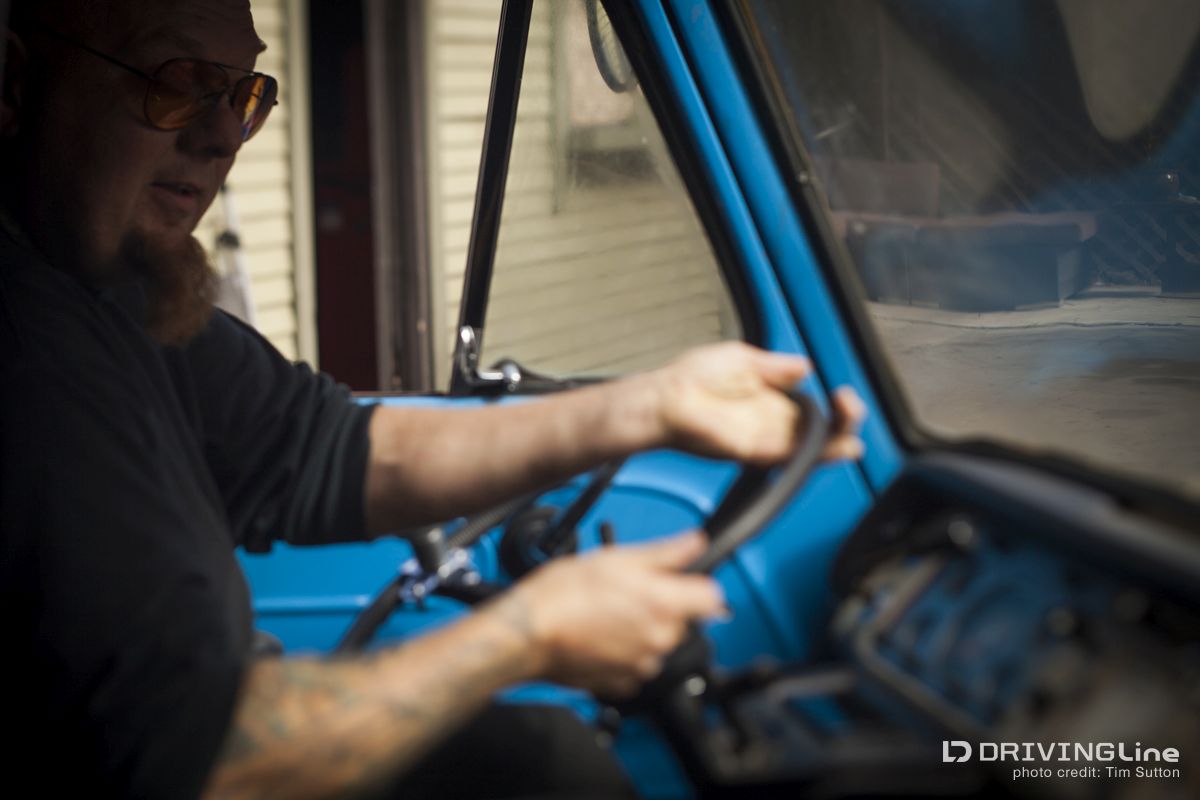
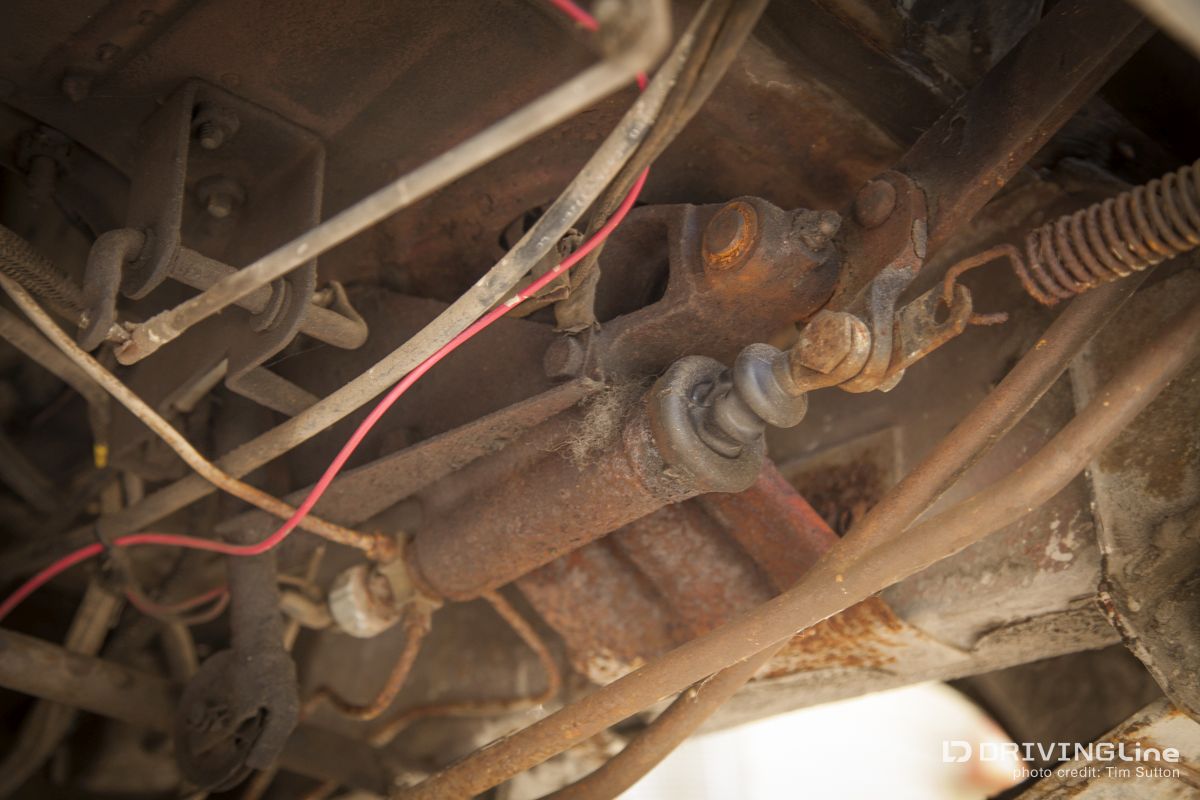
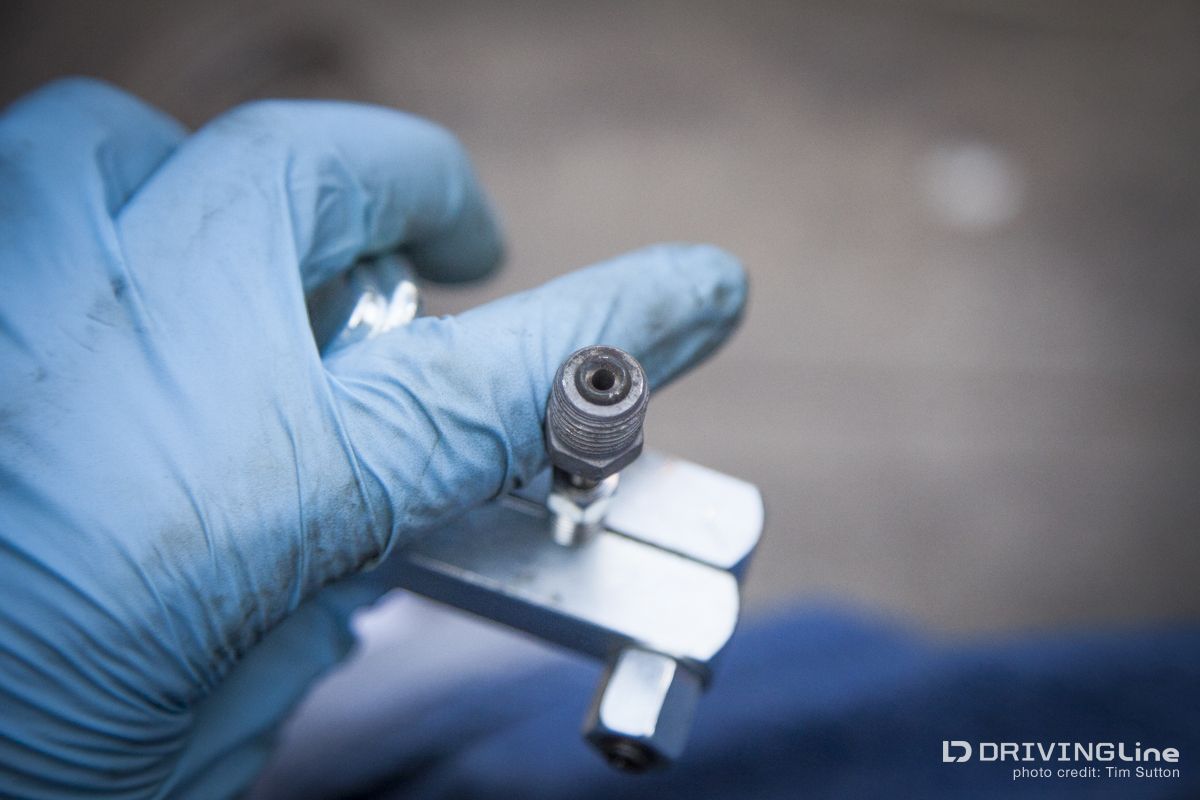
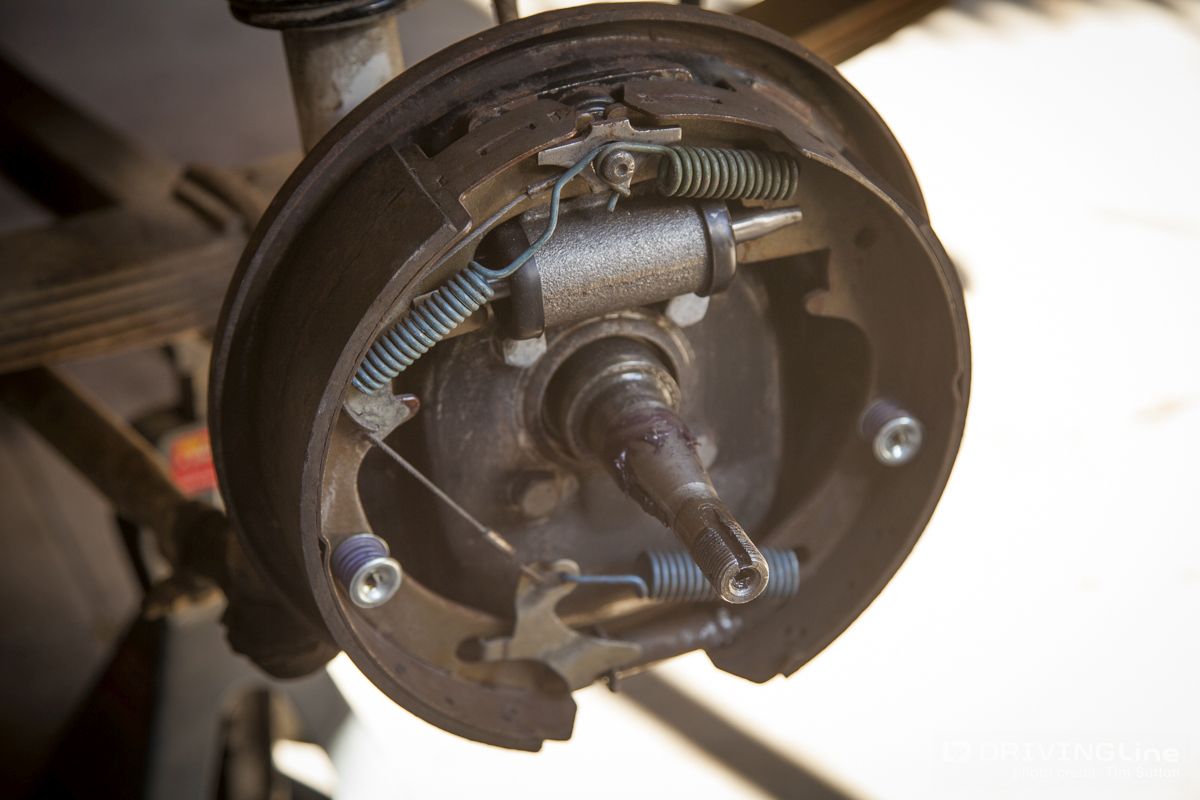
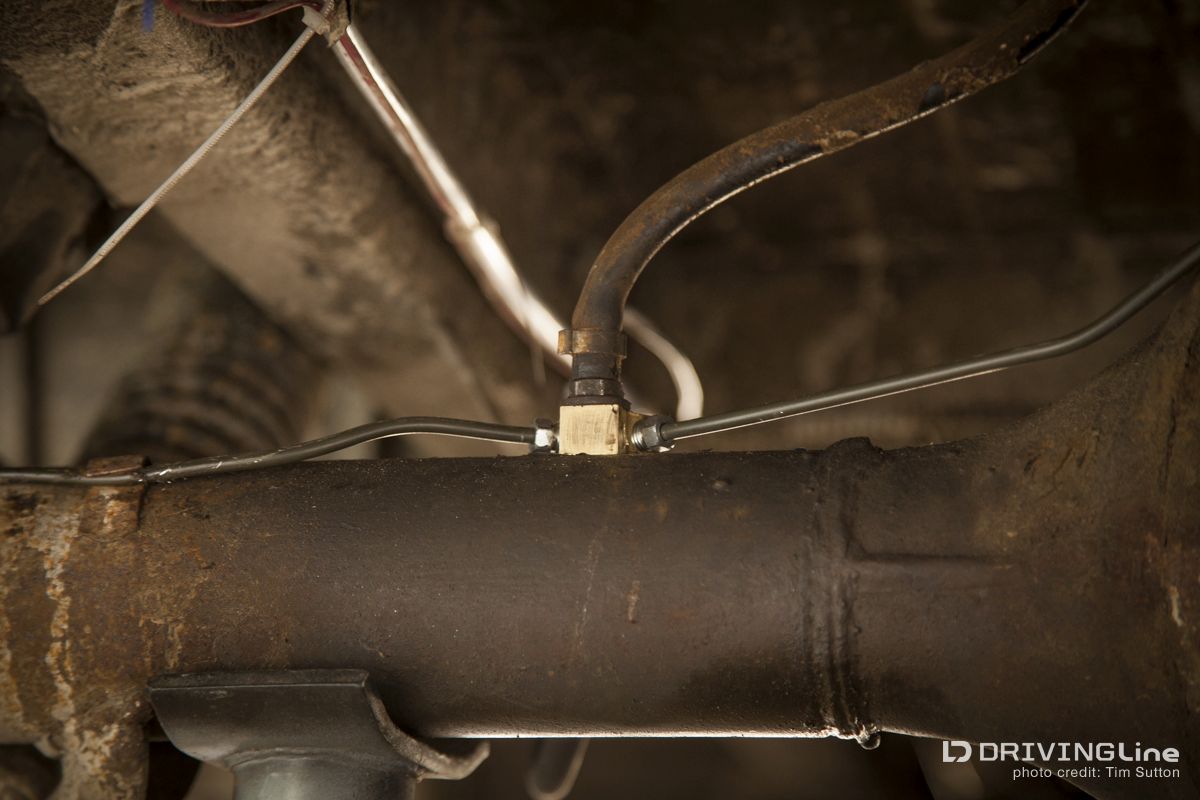
We all love our cars, classic or not - and chances are, if you’ve found your way to DrivingLine you like cars more than your neighbor. We all have a dream car we hope one day to own and drive, we've built them in our mind and doodled them on napkins. Custom features, go fast parts, the perfect stance – whatever the case, chances are your dream car’s brake system probably hasn’t entered your thoughts. Take a word of wisdom and stop to consider one of the most important things in your car, the brakes, before you dump that 500 hp engine in. When you’re dealing with the old sort of cars that I do, chances are the projects you pick up are single master cylinders – meaning that if one line or wheel cylinder goes, your brakes are toast. Foot straight to the floor and there goes your dream project. No matter your project, I’m a firm believer in brakes and they’re the first thing I turn to when starting a project. For most drivers, an overall inspection followed by replacing the pads and bleeding the system is all that’s called for. If no leaks, rust, or abnormal debris is found you’re good to go - in this case we weren’t so lucky. My friend found his dream car, a 1966 Econoline, but it had zero brakes! He brought it over to mi casa and the project turned into a full replacement of the hydraulic components of his brake system. Follow along, you may learn a thing or two…. My buddy’s ’66 Econoline comes stock with a single pot master cylinder and drum brakes. There are aftermarket shops to buy disc brake conversion kits for ‘em, but we didn’t feel this project called for those lengths and decided to stick with drums. The master cylinder needs to be upgraded to a dual-cylinder one though, but unless you want to fabricate, finding an elusive single-year dual from a ’67 model is your only choice. Since my buddy happened to have a freshly rebuilt '67 cylinder, we were good to go. A quick inspection found that most of the lines were about rusted through, the rubber lines were toast and I was scared to see what was in the wheel cylinders. The springs and pads didn’t look that bad, just a little regular wear and tear. We decided to keep it on the budget, so we reused the pads; they had plenty of meat on them so not a biggy. The pedal was scary, straight to the floor with nothing, dang that’s nuts. The guy he bought it from had been driving it like that….sometimes it scares me what’s on the road! Here you see the parts we’ll be using to make this dog safe. The ‘67 master cylinder and front and rear wheel cylinders. Wheel cylinders can be rebuilt, but at 10 bucks a pop, these were too cheap to pass up. Here’s what I was really afraid of and knew it would need replacing. The master was blown out with tons of crud and rust. Scrap metal on the slow boat to China! 1967 was a crazy year for cars, it seemed like every manufacturer made huge improvements that year. In this case, we have the “new” ‘67 master bolted in place of where the old one was. Out with the old, in with the new…it’s seriously that easy. The brass bit you see is a proportioning block for the dual pot master with a space for both front and rear lines and a brake switch in the middle. We bought most of our lines in 4-foot lengths from Napa Auto Parts, with most of the ends flared already. We matched them to the exact size of our old lines, as we weren’t changing the routing of anything really, just putting in all new. You will however need to make cuts with a tubing cutter and make your own double flares with a flaring tool…YES THEY MUST BE DOUBLE FLARES. Single flares are dangerous. You can find the tool at your local parts stores, some might even let you borrow it. The brake assemblies are taken apart and new wheel cylinders put in. Backing plates cleaned, painted if you want to get fancy, and ready for re-assembly of the brake pads and hardware. All new rubber lines were ran along with all the hard lines. It makes a difference, as rubber is normally the first to brake down. Old ones can even swell and burst…as our Editor-in-Chief Kristin once discovered while driving her ’55 Studebaker. She chose to sub in steel braided ones to ensure it wouldn’t happen again. Brake pads and hardware were cleaned up and installed as per factory specs. A quick look inside the drums find just a little wear. No grooves or scars, that can be dangerous and indicates a need to replace. Another good idea is to pull out a mic and the handbook to ensure they are within spec before putting back together. Before setting the car back down on all fours, it’s time to tighten the new hard lines and bleed the system. For this one I went around 4 times just to make sure all the air was out of the system…I like good brakes. After some time and money well spent, we’re back out on the road stopping with the rest of ‘em. There’s nothing quite like knowing you can trust what you’re rolling on!