skip to content
Driving Line Mark Logo

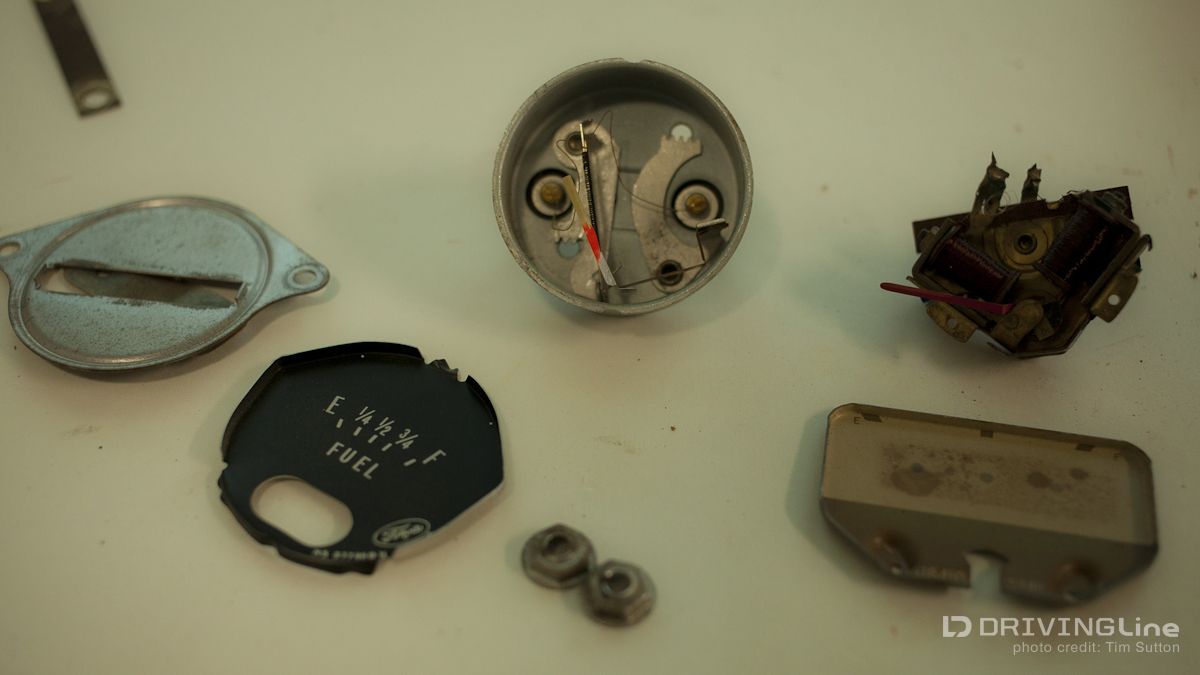
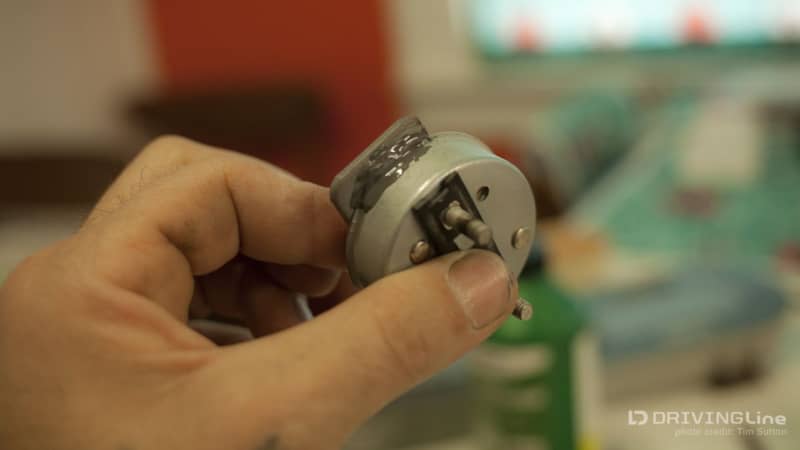
Tech: Restoring and Converting Vintage Gauges to 12V

­­­ vintage-gauge-restoration-12v-conversion-01 When you own a classic car, sometimes their parts are out of date to the point of being obsolete. I found myself in this predicament with my "new" old gauge set for my current Chevy project. The guage's I'm retrofitting for this custom are from a 1947 Oldsmobile. Normally I'd just use a voltage drop to get them to work, but I am using a mustang tank and sender in my project and the temp gauge was straight broken. To get the right ohm range for the sender and a new temp gauge that might actually be accurate, I found myself rummaging through my parts hoard. I had a gauge set out of a '61 Ford unibody we used as a parts car a year ago. Perfect? Without me blowing a ton of cash to get the whole thing restored, I took it upon myself to undertake the task. How hard can it be right? I determined that the oil gauge still worked by hooking it up to a manual hard-line gauge… trust them the most. Spun up the Speedo after lubing the gears with a little oil and it was smooth as can be - that left me with the gas and oil guages to retrofit. Here’s what I did... vintage-gauge-restoration-12v-conversion-02 The Old's gauge set was pulled apart to determine what was and wasn’t working. vintage-gauge-restoration-12v-conversion-03 vintage-gauge-restoration-12v-conversion-04 I pulled the gauges out of the '61 truck cluster. The biggest challenge about this sort of retrofit is finding gauges that sweep the same way as the originals. I was very lucky to have this cluster lying around, but sometimes you have to dig a little bit deeper.  A trip to your local junkyard will still yield gauges out of some 60s-70s cars that work fine. vintage-gauge-restoration-12v-conversion-05 Here are the Ford gauges (left) next to the Olds gauges (right), you can see how their sweep matches. vintage-gauge-restoration-12v-conversion-06 This is where being patient comes into play. I started on one end, gently prying up the chrome bezel that wraps around to the back of the cluster. You should only have to do one side before being able to work out the internals - it comes apart pretty easy if you take your time.  If working with a glass faced cluster, be very very careful not to break it. vintage-gauge-restoration-12v-conversion-07 vintage-gauge-restoration-12v-conversion-08 After the chrome was off I could see how messy the old gauge set really was. A few spiders tried to bite me, so I scurried them off to find new homes. vintage-gauge-restoration-12v-conversion-09 The face of my set was really rusted out. It needed a lot of cleaning and in the end I decided to paint it new again rather than leaving it metal. vintage-gauge-restoration-12v-conversion-10 vintage-gauge-restoration-12v-conversion-11 vintage-gauge-restoration-12v-conversion-12 An old car prep trick is to use chrome polish or Nevr Dull to remove rust. This totally works on just about anything (even paint if rust stains are coming through) as long as it's not pitted. vintage-gauge-restoration-12v-conversion-13 vintage-gauge-restoration-12v-conversion-15 But like I said, this gauge cluster was getting a paint job - it was time for a wipe down with acetone and tape for paint. vintage-gauge-restoration-12v-conversion-14 vintage-gauge-restoration-12v-conversion-16 vintage-gauge-restoration-12v-conversion-17 My gauge face is made of plastic and was pretty beat up. I took a DA with 3000 grit to it, just to clean up the haze. I coulda spent the time to start at 600 and remove all scratches, but for me the heavier ones are kinda the charm of having an old car. After the DA, I followed it up with a buffing wheel with plastic polish rouge. She shined up amazing. I used a kit I got at home depot from Ryobi on my air tool. vintage-gauge-restoration-12v-conversion-18 Now time for the fun stuff... let’s start with the gas gauge! vintage-gauge-restoration-12v-conversion-19 First, carefully remove the face plates. The newer ones are easy, they are just aluminum with bent over edges. Be sure not to take your time, it can be very easy to damage the underlying gauge. Brass rivets usually hold the older ones in - for that style use a flat file to remove the rivets. vintage-gauge-restoration-12v-conversion-20 The gas gauge didn’t have enough swing for me, so I decided to adjust it to the new face. You can see the two holes in the back with the jagged edges on the mechanism. Tiny screwdriver through the back and the needle moves. This gives it a longer throw on the gauge... at least that's how this application works. vintage-gauge-restoration-12v-conversion-21 The new face was fitted and glued using a two-part epoxy. Strong stuff.  After gluing, tape and set aside. You can also see I trimmed off the bottom of the panel. I did this because the old one was interfering with the gauge movement...sometimes you've got to get creative. vintage-gauge-restoration-12v-conversion-22 vintage-gauge-restoration-12v-conversion-23 vintage-gauge-restoration-12v-conversion-24 Time for assembly...start one piece at a time and make sure not to get any stray bits in the gauge set that will drive you crazy later. vintage-gauge-restoration-12v-conversion-25 vintage-gauge-restoration-12v-conversion-26 After getting all the parts in the retaining ring, it's time to reseal it. Taking your time makes all the difference! I used my favorite body hammer for this one. I fallowed it up with a tiny set of needle nose pliers. vintage-gauge-restoration-12v-conversion-27 Next, simply put the gauges back in their placement within the cluster. vintage-gauge-restoration-12v-conversion-28 I did have to use the stock resister that went with the '61 clusters in order to power the gauges.   It makes them work correctly. Cheers and get some!

What's been your experience with retrofitting vintage gauges?

Return to beginning of article

Recommended For You

Loading ...