Off-Road Basics: Post-Trail Vehicle Maintenance
Off-roading is tough on a vehicle. Off-roaders regularly push their vehicles to the limit, putting stress on even beefed-up aftermarket components. Even if you stick to casual fire roads, you should get in the habit of performing regular maintenance checks after every off-road trip — as exposure to mud, water, dust and dirt causes parts to wear out faster.

Prevention is a key component to avoiding breakdowns out on the trail, and you certainly don’t want a component to break while traveling at highway speeds either. An added benefit of doing regular maintenance inspections yourself is that the more familiar you are with your vehicle, the more capable you are to address any problems that may arise when you are out on a trail.
1. Clean Up
- Wash and vacuum your vehicle, especially the under carriage. Lift the hood and hose out the engine compartment. Cleaning your vehicle not only helps protect the exterior of your vehicle but also makes it easier to spot any problems — as well as helping to prevent spreading invasive plant species which you may have picked up along the trail. Besides...it's much easier to do this checklist when you can actually see all the parts!

2. Tires
- Check your tire pressure and then do it again the next day, as tire pressure drops when the air inside it cools down. Don’t forget to check the pressure of your spare also; you might need it one day. Inspect your tires for any deep cuts or missing lugs. Check lug nuts and tighten if needed. If you have beadlocks, check the tightness on them too.
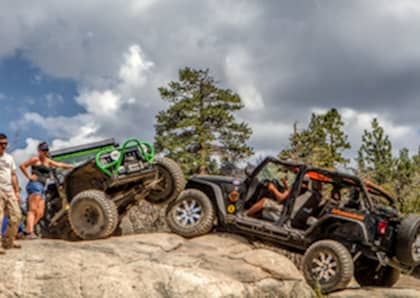
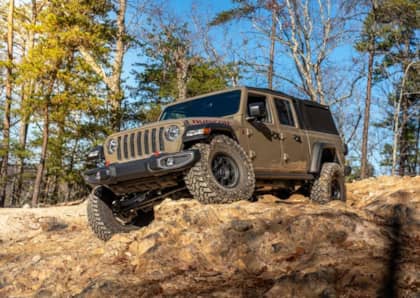
- Larger tires (like these Nitto Mud Grapplers) bring with them extra weight. Inspect your spare tire carrier for any signs of stress along the weld lines.
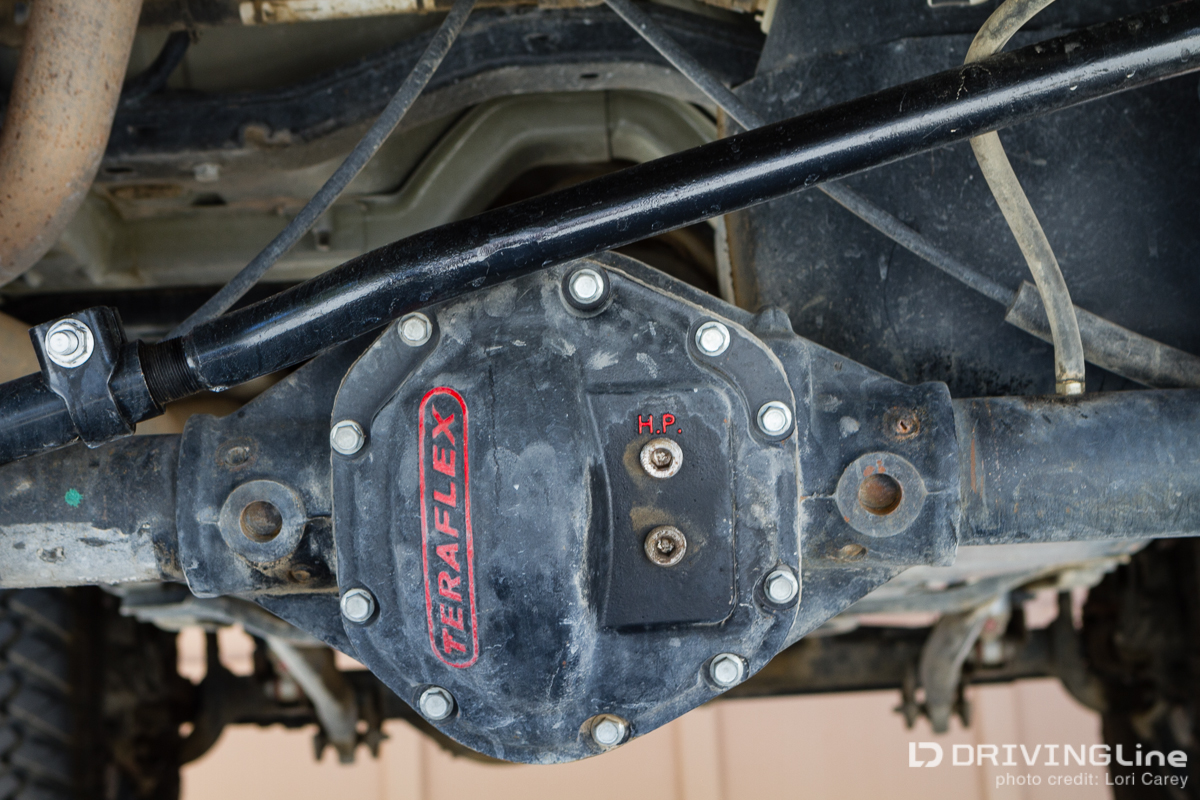
3. Differential & Transmission Check
- Examine the differential and transmission for any damage or leaks. Many off-roaders use heavy-duty covers on their differentials, as seen here, but dented covers can leak. If you've been in deep water check the fluid for a milky-white color which means water contamination and change as needed.
4. Shocks
- Check your shocks for any damage such as deep dents or leaks, including bushings and mounts.

5. Brakes
- If you’ve been in deep sand, water, or mud you should inspect your brake drums for mud or sand.
- Inspect your brake lines, especially if you've lifted your vehicle and still have stock brake lines. If your brake lines are too short they will get stressed from over extension. You don’t want to lose braking power unexpectedly.

6. Axles
- Larger tires are tough on axle components such as ball joints, knuckles, and stub shafts. Check everything over carefully for any signs of stress such as cracks or bends. Properly jack up your vehicle and give a good tug on each wheel to check for wobbles and looseness.
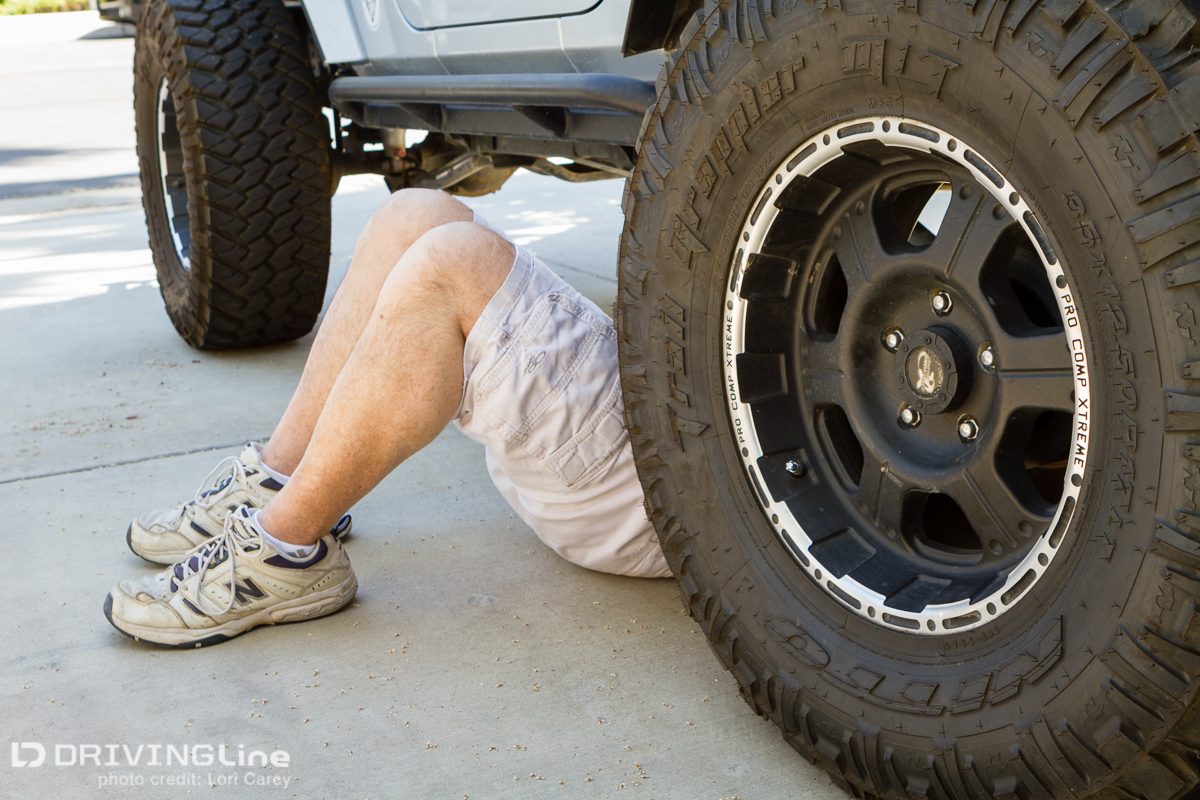
7. Suspension
- Check suspension components such as track bar, control arms, springs and bump stops for any signs of wear or damage. Look for any signs of components rubbing against each other.
- Crawl underneath your vehicle and inspect your suspension and steering components for signs of damage or excessive wear and any loose nuts and bolts. Wiggle things around a bit checking for looseness.
- Look at your steering box, where it is mounted to the frame and your steering box sector shaft to ensure everything is as it should be.
8. Grease
- Grease any joints and bearings that need greasing, including u-joints and driveshafts (if greasable.) If you're not sure what takes grease, look for a small grease zerk fitting, it indicates a part that needs greased regularly.
9. Frame Check
- Look for any cracks in your vehicle's frame, especially along weld lines and high stress areas.
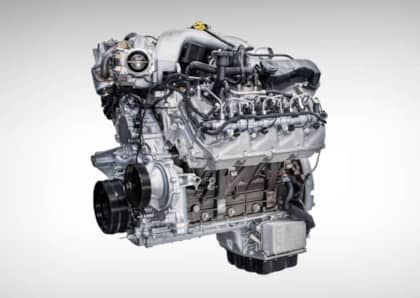
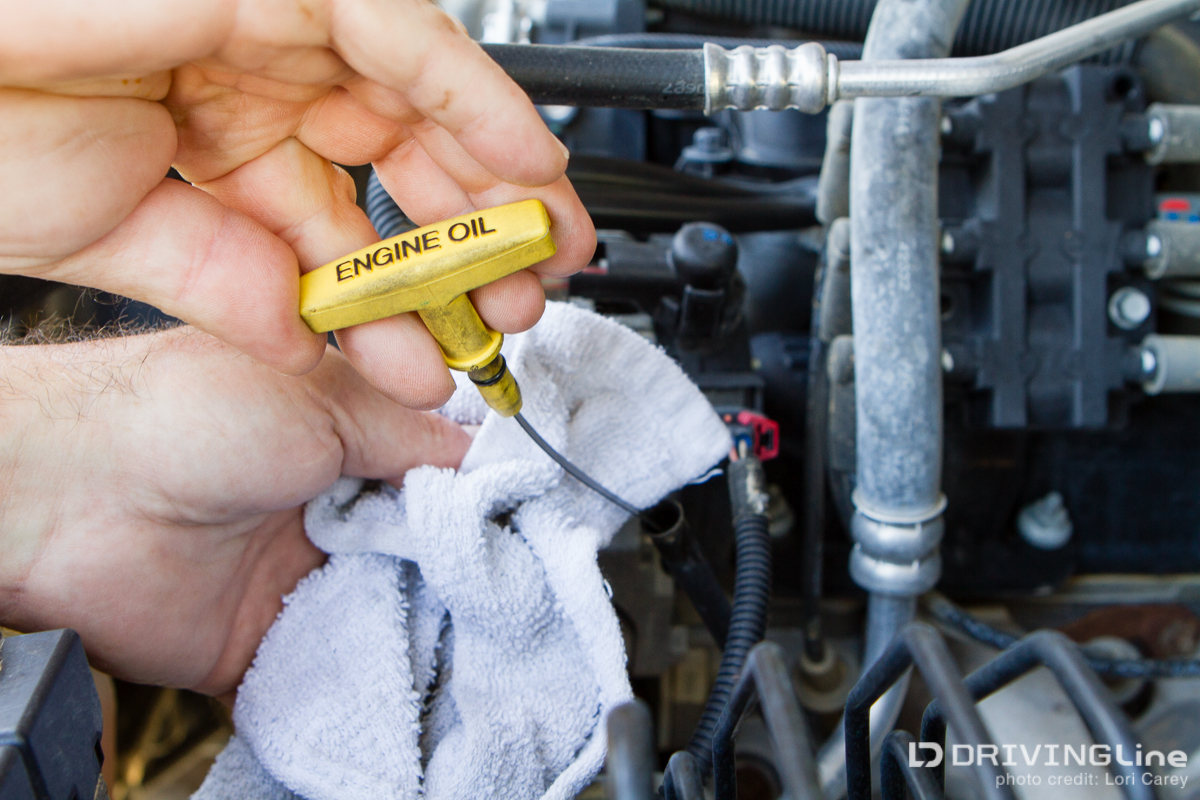
10. Engine
- Hard use and dust causes engine parts to wear out faster, so take a good look under the hood for any leaks and check all hoses, belts and clamps. Look for anything that is loose and replace parts that are worn.

- Check all fluid levels, including oil, antifreeze, power steering, and transmission. Inspect fluids for any water contamination if you've been in deep water. Replace/refill fluids as needed.
- Check your radiator to make sure it isn't damaged, leaking or clogged with mud.
- Inspect your air filter. If you've been out in a lot of dust and you have the type that can be cleaned and oiled, remove and clean it.

11. Winch
- If you used your winch you may not have had time to spool the line neatly. Take the time now to re-spool it so it is ready to go the next time you need it.

12. Gear
- Clean and organize your tools, and restock/replace gear in your trail bag so it is ready to go for your next outing.
If this is your first off-road vehicle and you’re not mechanically inclined, don’t be intimidated by your lack of familiarity with all of your vehicle components. In order to get started, perhaps you want to ask someone who's knowledgable to help you through this checklist for the first time. Over time you will come to know your vehicle well enough to at least able to spot when something isn't right so you can call an expert, even if you can’t pinpoint the exact problem on your own.
For an added level of security, many off-road shops offer a safety inspection check. I take my Jeep to my local shop once a year just in case I missed any problems, it gives me peace of mind. Following a regular inspection and maintenance routine will go a long way in keeping your off-road vehicle in good working condition and should help prevent any unexpected problems.