The Proper Lift Height for Your Vehicle: Lifting a 1991 Mitsubishi Pajero and Upgrading Shocks
In our previous article, Why Women Should Go Off-Roading in Their Own 4x4, we talked about the purchase of our third 4x4—but this time, the vehicle was all mine. We love venturing to places that many people cannot see because they don't have the means to get there. This vehicle, a 1991 right-hand drive turbo diesel Mitsubishi Pajero XP, will be built up to allow for those adventures. Part of getting to those interesting places requires that we make some modifications to it. Since November 2018 it has had a good deal of work done on it already. First, we rebuilt a leaky diesel injection pump, swapped out the worn out timing belt, water pump and auxiliary belts and replaced a slipping clutch (even though paperwork suggests it was replaced only a year ago).
The next step was lifting the Pajero in order to gain more ground clearance and fit larger tires in the wheel wells. In addition to the stock shocks being mostly shot and in need of replacement, I also wanted the ability to dial in my shocks depending on what type of adventure and gear I’ll have. This requires a better than stock shock and I decided on a set of Rancho RS9000XLs. These shocks have a larger body than most OE units, which allows for more dampening fluid, which helps dissipate heat and they're nitrogen-charged, too. They’re the perfect fit for what I plan to do with the vehicle. But first, we needed to figure out what the proper ride height would be for our truck.
Why Lift a Vehicle?
For the Pajero, we wanted to allow for a larger tire size and more suspension articulation, so we knew that a lift was necessary. Different vehicles have different lift requirements based on the vehicle’s off-road goals and type of terrain it will encounter. Is there a specific setup that’s better than others? Are there certain height ranges that work better for overlanding, rock crawling or trail running? I asked a few industry professionals for their input on the matter.

Chris Miller is the Head of Digital Sales and Marketing for North America and International Markets at Metal-Tech 4x4 in Newberg, Oregon. He stated, “As folks explore more and more they will discover things with the vehicle setup they may want to address. If they begin to carry more ‘kit,’ then the vehicle payload capacity needs to be sorted with upgraded springs. If better performance on rough tracks is desired, i.e. stock suspension overheating, then an upgrade is needed. If they wish for a bit more ground clearance using slightly larger tires, then a suspension lift should be considered.”
I also talked with Colby Orobko, a Canadian District Sales Manager of Tenneco who also oversees Rancho Performance Suspension & Shocks. “[The] biggest advantages to lifting a vehicle are gaining clearance to your differentials and sub frame. This will also allow individuals to run a larger tire setup which can be advantageous for off-roading adventures. Not only will longer shocks help overall handling and performance, it’ll also give your vehicle a good looking stance, increasing the overall curb appeal.”
What's the Optimal Lift Height for Overlanding, Trail Running or Rock Crawling?
“This is very subjective and very different per application,” says Chris. “For overland travel or 4WD, lift height is not as important as payload, reliability, strength, performance and comfort. This typically can be achieved with simple and robust products from Old Man Emu, Ironman and the like. Typically these simple reliable setups offer a two-inch lift.” Chris continued, "For trail running and rock crawling, overall suspension travel is more desirable rather than a specific height because the greater range of suspension travel increases performance."
Colby broke down optimal lift height ranges per each off-roading segment:
- Overlanding: 0-3" This range is primarily due to added weight; people who are overlanding tend to run on the heavy side due to all the gear, extra fuel and other provisions.
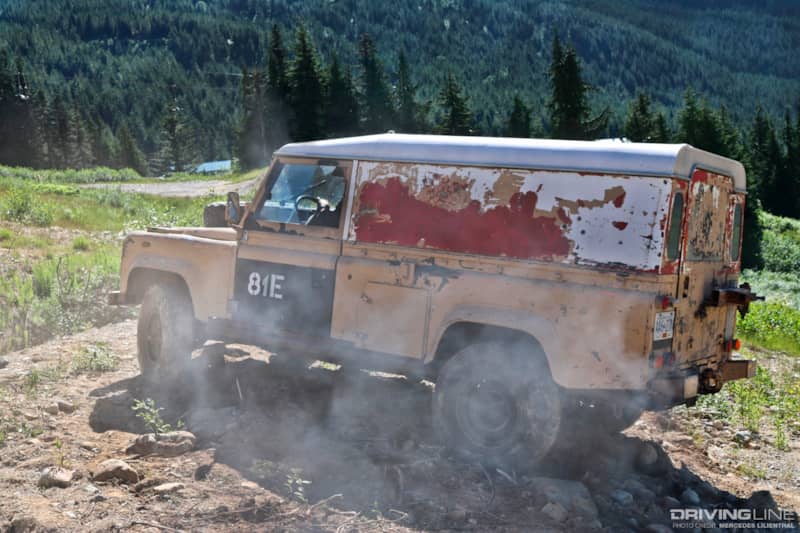
- Trail running: 2-3” This falls into a similar category as overlanding. In British Columbia, trails are either maintained or deactivated forestry roads. With deactivation, most stock height vehicles will have issues clearing or be unable to cross them (they may get high-centered). By having additional clearance and larger tires, most weekend warriors can navigate the backcountry with ease.
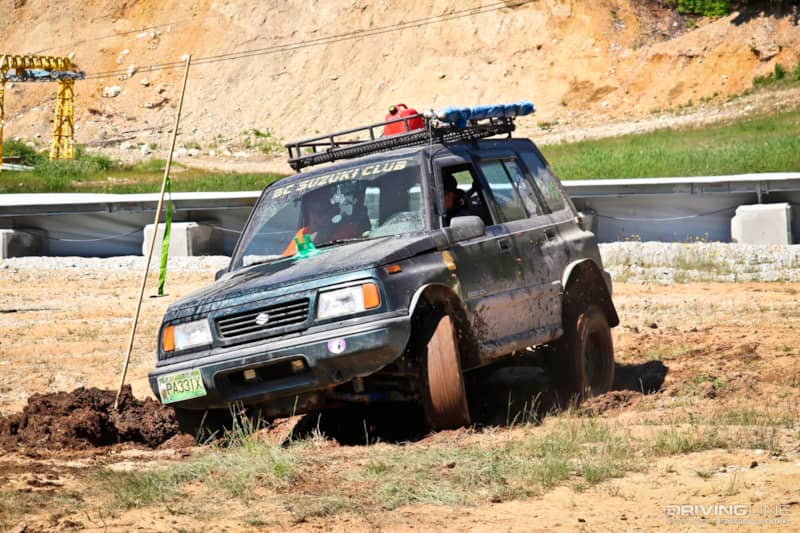
- Rock crawling: 3-5” Articulation is one of the most important aspects that rock crawling drivers are after. This will allow the vehicle to have a consistent contact patch with the obstacles and allow the driver to clear them. For majority of the rock crawling enthusiasts, running 35-37-inch tires like Nitto Trail Grapplers or Mud Grapplers is preferred.

Are There Any Drawbacks for Each Height Range?
“The more you lift a vehicle the more you’re changing the vehicle’s dynamics in regards to handling and performance. More lift affects several things: the center of gravity is raised, more modifications are required, and engine, braking and fuel economy etc. is affected. Most modifications trade reliability for performance,” Chris stated. “[The] drawbacks of upgraded shock/suspension setups are typically costs and maintenance, and it could affect vehicle warranty.” Chris further explained that he often talks customers out of spending money right away and use the vehicle first. "Become intimate with it in varying conditions and terrain; know its strengths and weaknesses first, before modifying it. After a customer gains that knowledge and establishes a solid baseline we now have a point to improve on moving forward. Otherwise, we are just throwing money at issues that may not even need to be addressed,” Chris added.
Colby explained that fuel economy and accelerated wear on drive components could be other drawbacks to lifting your vehicle. When it comes to OE shocks, the majority of them are designed primarily for everyday on-road driving. Upgrading shocks to an off-road shock will help the vehicle perform and handle more effectively.
What’s Right for Your 4x4?
The most important takeaway is to know your vehicle before you decide to lift it or upgrade it. Understand the primary terrain the vehicle will be in, and upgrade to suit it if necessary.
Lifting The Pajero
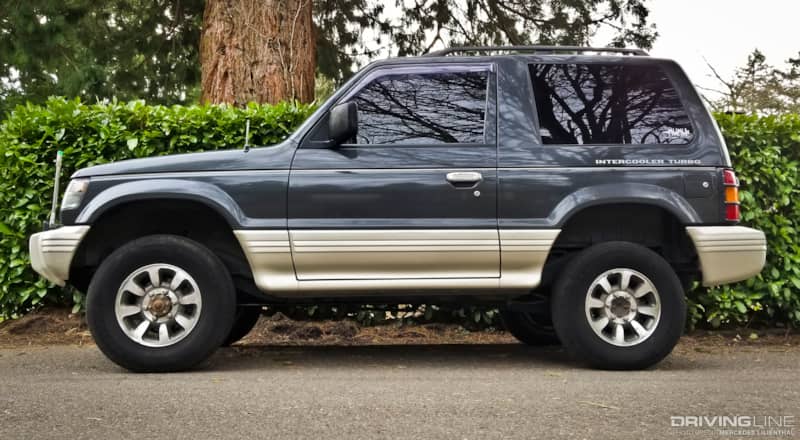
After identifying the type of driving we'd be doing and learning about the ideal lift heights, we decided on a minimal lift of 1.5 inches in the rear and .75 inches in the front. In addition to the lift, we chose to upgrade the suspension with new Rancho RS9000XL adjustable shocks.
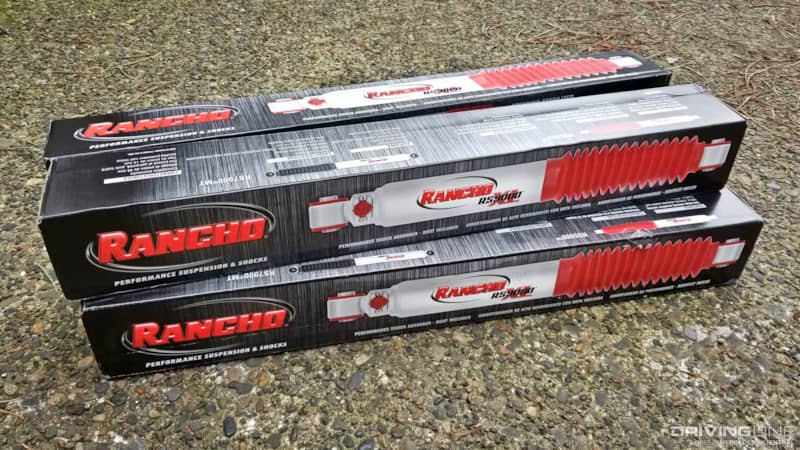
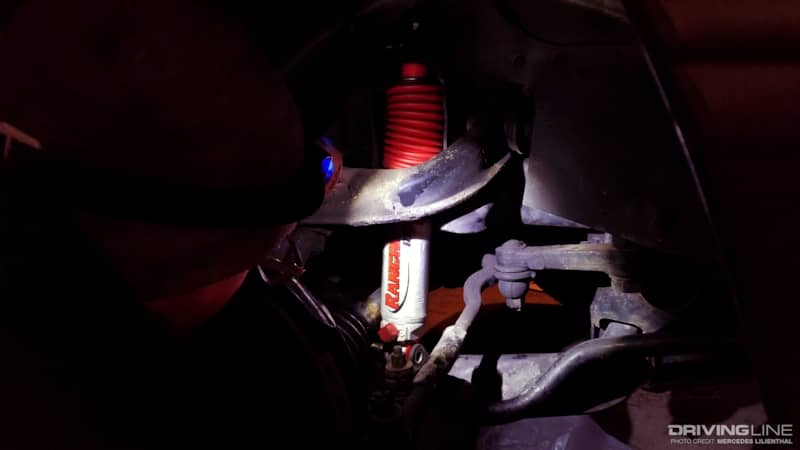
These on- and off-road designed shocks boast a nine-position manually adjustable ride, the perfect choice to tackle various off-road terrain while still maintaining a comfortable ride on tarmac. The advanced RS9000XL series counteracts the added unsprung mass found in larger tire and wheel combinations. Since we installed the exact same shocks on our first Pajero, a 1992 XR-II trim level two-door dubbed the Ralli Tractor, we knew their performance in multiple scenarios and loved them. As a bonus, they’re engineered and manufactured in the U.S.
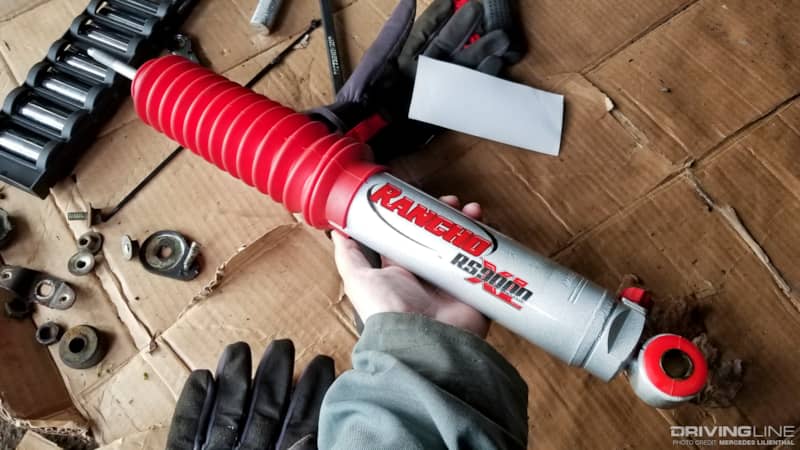
The original shocks had electronically adjustable dampers. These would not be utilized in the new suspension setup. We began by removing the OE adjusters at each corner with an 8mm wrench, then removed the factory shocks.
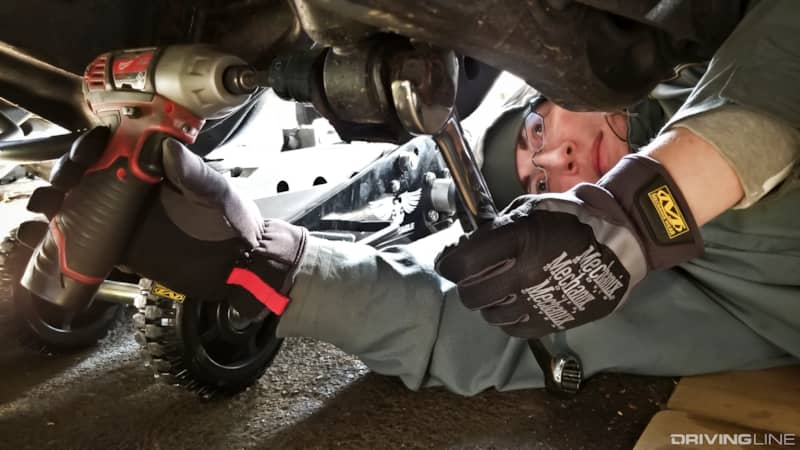
With stock shocks out, we dropped the rear axle and pulled out the rear coil springs.

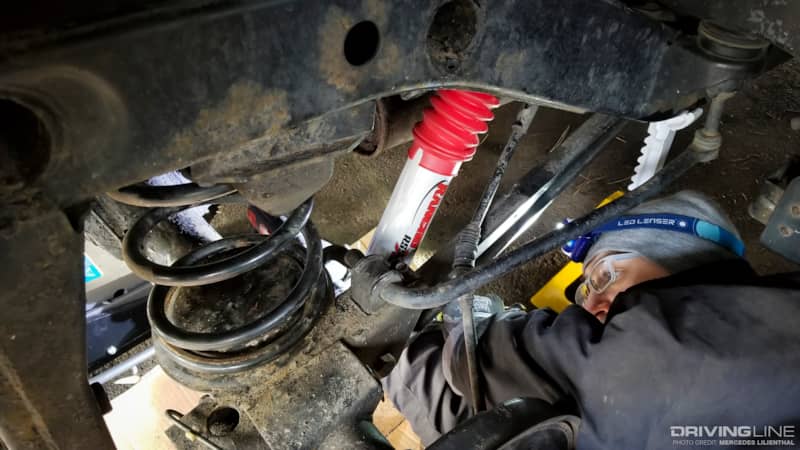
We opted for a budget-friendly rear lift using rear coils from a parts-donor, long wheelbase Montero. This would help maintain a compliant ride while giving us about 1.5"+ of lift. Next up, we installed the new Rancho shocks in the rear. The installation required removing just two bolts per shock, and came with new bushings and top nuts.

The rear factory electronic damper adjuster motors were zip tied out of the way. They could have been cut off, but we decided to move them out of the way in case we ever decided to use a stock setup in the future. Once the rear was buttoned up, we moved to the front and installed the front shocks, complete with the supplied rubber dust boots and zip ties. These were also easily installed with just a couple of wrenches, a rubber mallet and the supplied hardware.
Once the new shocks and rear springs were in, it was time to lift the front end. Since the front suspension utilizes torsion bars (vs. coil or leaf springs), we were able to crank the torsion bars up using a 17mm socket. This raised the front end about .75 inches. We utilized the factory torsion bars, although aftermarket bars are available. The downside with torsion bars is they don't provide much flex much off-road compared to a coil spring or even a leaf spring. They do, however, provide a very compliant ride. We’ll be "three-wheeling" it a lot on the trails, but having owned a Suzuki Sidekick on 29-inch tires with a 2-inch lift, we’re used to that.
Before Lift:

After Lift:
Now that the shocks are improved and we've got the correct amount of lift we can install our next upgrade: a set of 285/75R16 Nitto Ridge Grapplers and custom wheels.
Photos by Mercedes and Andy Lilienthal