Top 32 Play-by-Play: Formula Drift Rd 4 Wall Speedway
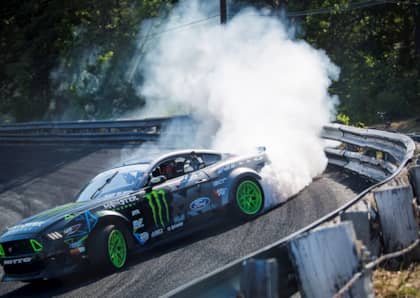
Wall Speedway in New Jersey has become a staple on the Formula Drift schedule, and the 33-degree banking is the most dramatic on the circuit. The uneven guard railing that lines the top of the bank can rip apart a car in a second, but drivers love to test the limits. New Jersey marks the middle point of the seven round Formula Drift USA schedule, and many championship chases have been curbed via carnage at the track in years past. The course is a play on a figure eight, and somewhat similar to the Orlando layout just in smaller scale. Drivers take off from the start line and enter the first turn clockwise around the banked track, asked to push their bumpers as close to the guard rail as possible. Before they cross the traditional start finish line, drivers transition off the bank and onto the flat bottom with a switchback before entering the second turn also in clockwise orientation. After pushing their car as far outside on the flat apron without putting a tire onto the bank, drivers switchback once again on the backside of the track before rounding out the track on the apron of the first turn. With three outside clipping zones and a pair of switchbacks, the small track is easily viewed from anywhere in the stands and tends to provide close tandem. In qualifying, Ken Gushi topped the qualifying charts for the second consecutive event with a score of 93, while his Scion Racing teammate Fredric Aasbo earned the same qualifying score but lost the tiebreaker due to a lower style score. Justin Pawlak pushed his Ford Mustang into the third place qualifying position, with Pat Goodin and Kenny Moen rounding out the top 5. In case you missed the event or the live Formula Drift Driftstream, here’s a play-by-play of how the top 32 tandem battles shook out.Fast forward to the Ford Top 16 or Nitto Final 4.
Air Force Top 32
Ken Gushi vs. Nate Hamilton
Gushi Lead: Gushi initiating as the number one qualifier for the second straight event, Hamilton isn’t giving him any room! Gushi is high on the bank, just like in his qualifying run, but Hamilton keeps it close through the entire course. A small steering bobble from Gushi, exiting the second outer zone, but otherwise a smooth run for both drivers. Hamilton Lead: Hamilton not as high on the bank as Gushi on Gushi’s lead run, Hamilton taps the outside clip on the apron of the second turn. Gushi closes the gap over the course of the run, Overall not a bad run for either driver. One judge votes for a “One More Time” (OMT), but Gushi wins over the other two judges to win the battle.Matt Field vs. Conrad Grunewald
Field Lead: Field has been pouring out smoke all weekend, this run is no different! Grunewald kept about two car lengths behind Field for most of the course, Field has good usage of the course, Grunewald isn’t far behind despite the smoke cloud. Possibly a slight advantage to Field, but nothing that Grunewald can’t overcome on his lead. Grunewald Lead: Grunewald has a very quick and snappy initiation, Field is close behind through the bank. Grunewald has a good run through the bank and the second outer zone, but as he exits the second turn, Grunewald turns on more angle and over-rotates. Field earns the votes from all three judges to take the unanimous win.Robbie Nishida vs. Daigo Saito
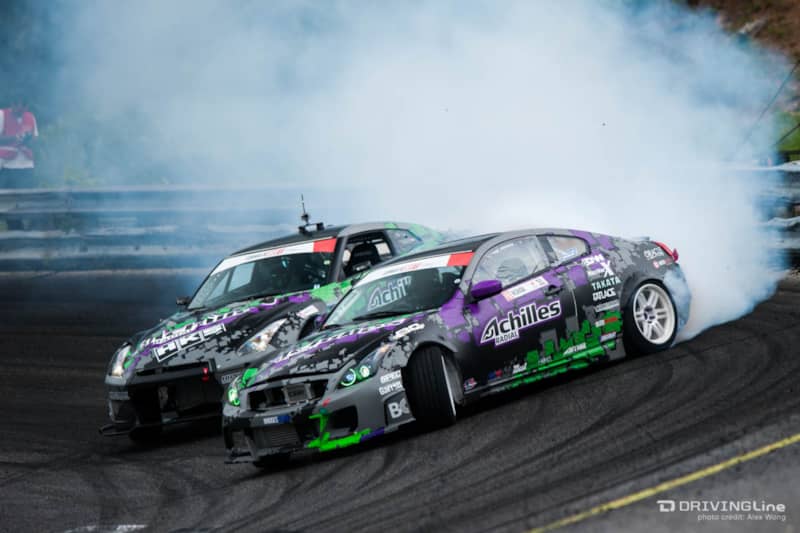
Ryan Tuerck vs. Brandon Wicknick
Tuerck Lead: Tuerck’s car gets up on three wheels on initiation, the hardest initiation we’ve seen! Wicknick attacks hard entering the second outer zone and closes the proximity, but has an awkward line through the exit of the second outside zone and through the second switchback. Tuerck has a snappy transition, Wicknick surges hard but hits Tuerck. Tuerck needs a tow off the course, fault appears to be on Wicknick, which will likely lead to a win for Tuerck. This would be the second round in a row where Tuerck wins his top 32 battle due to contact. Wicknick calls 5 minutes to repair his car. Tuerck’s car had a bent shock and a bent wheel, but both drivers are able to get their cars back together. Wicknick Lead: Wicknick’s car has returned sans-bumper and has a good lead run, no major corrections. Tuerck keeps the gap close through the course with no major corrections. With Wicknick on a 0 from causing contact, Tuerck doesn’t make enough of a mistake to push the run to a OMT. Tuerck earns the unanimous decision.Pat Goodin vs. Mike Essa
Goodin Lead: Goodin is looking to make up for his failure to qualify at his home track in Orlando. Goodin has a good initiation and stays high on the bank, Essa is definitely lower on the bank with less angle. Essa closes the gap towards Goodin but loses angle in the process. Goodin finishes strong, Essa has a few corrections. Essa Lead: Essa is higher on his initiation as the lead car, Goodin is close behind. Essa has a steering correction mid-bank, Goodin seems much more consistent in his steering angle but not as close in proximity. Essa continues with some steering corrections on the second switchback, Goodin closes the gap again and earns the unanimous win.Forrest Wang vs. Daijiro Yoshihara
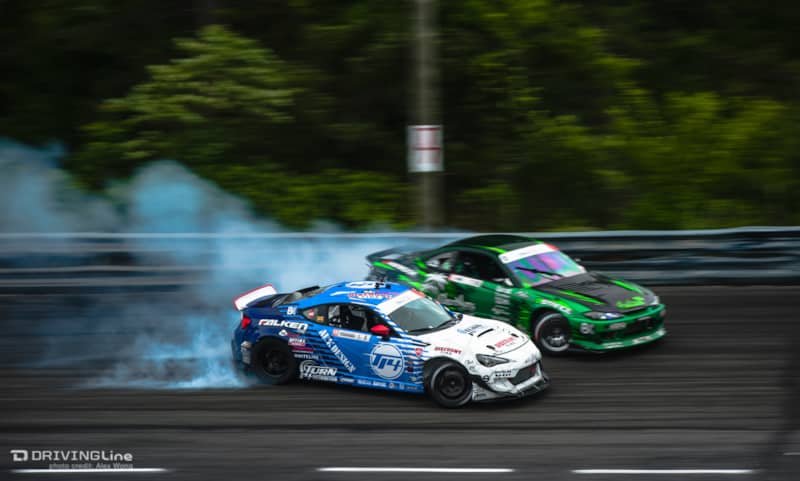
Kenny Moen vs. Kyle Mohan
Moen Lead: Moen seems to be slow out of the gate, but initiates almost next to the guard rail which doesn’t seem possible. Mohan stays close on Moen through the course, transitioning almost in unison across the mid-bank switchback and back into the second outside zone. Moen’s car is just inches from each clipping point and truly uses every inch of the course. Mohan has a steering correction through the third outside zone, slight advantage to Moen only due to Mohan’s small mistake. Mohan Lead: Mohan isn’t as high on the bank as Moen was on his lead, Moen is extremely close through the entire bank! Moen leaves room for Mohan to transition, then closes the gap again through the second outside zone. Moen is known for being aggressive in tandem, but this looks to be the strongest that Moen has driven so far this season. Moen gets the win and will move on.Vaughn Gittin Jr. vs. Dean Kearney
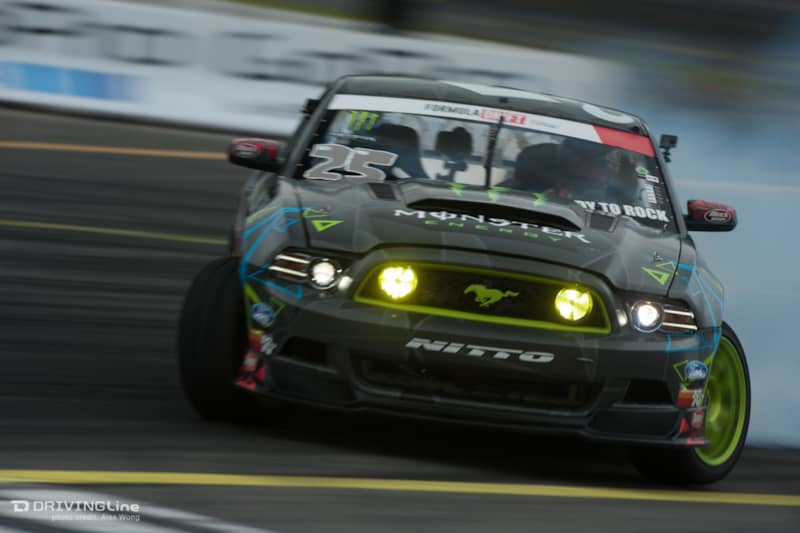
Fredric Aasbo vs. Mats Baribeau
Aasbo Lead: Aasbo has a good initiation, but the run is flagged before the exit of the bank due to Aasbo crossing over the line on the front straightaway. On the re-run, Aasbo has a good strong lead run with plenty of angle. Aasbo has more angle through all three outside zones, while Baribeau has a lower line on the bank and shallower angle through the second zone and only makes up a small amount of proximity. Baribeau taps the clipping point marking the end of the second outside zone, likely an advantage given to Aasbo. Baribeau Lead: Baribeau gets aggressive, pushing the higher line on his lead run. Baribeau’s lack of rear bumper allows him to get super close to the guard rail! Aasbo dives in on the first bank switchback and closes the proximity, Baribeau drops a tire on the upper bank through both the second outside zone and again in the third outside zone. Dropping a single tire on the bank in the second or third outside zone is a deduction, dropping two tires on the bank would be a zero. Not sure that it matters as Aasbo had the better run both in lead and chase, judges vote unanimously for Aasbo.Jhonnattan Castro vs. Kristaps Bluss
Castro Lead: A battle of international champions. Castro has a good lead, Bluss has become quite an aggressive chase driver, but gets too aggressive entering the third outside zone and hits Castro. Fault is given to Bluss. Initial inspection looks clear but Castro’s team wants to take a closer look at the car before continuing. Slight delay while the team inspects the car in the pits. Bluss Lead: Bluss is on a big disadvantage and definitely lays it all out on the line. Bluss’s lead run almost looks like a top qualifying run! Very high on the bank, scraping the bumper on the guard rail, snappy transition in front of the crowd and tons of steering angle and tire smoke all over the track! Castro is flirting with an inactive chase due to being several car lengths back behind Bluss through most of the course but closes the gap in the final outside zone. Judges vote unanimously for Castro as Bluss’s contact was too much to overcome. Had Castro not closed the gap towards the end, we may have been going to a OMT battle.Chelsea Denofa vs. Geoff Stoneback
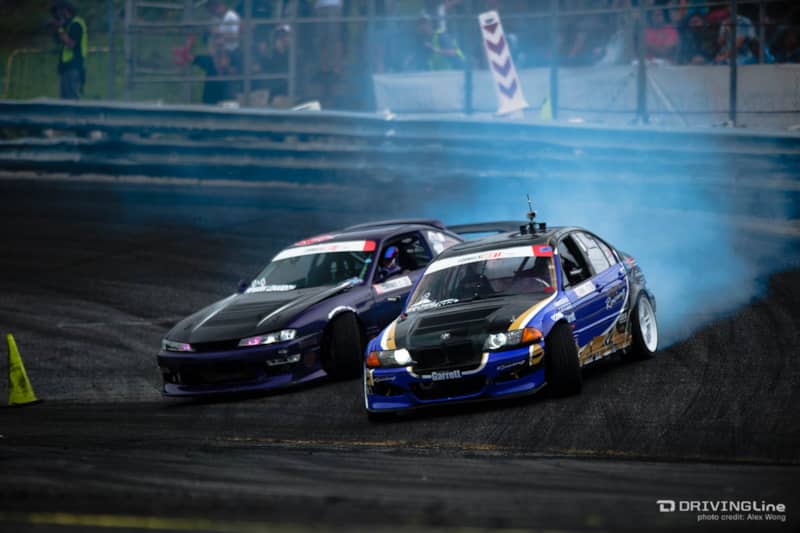
OMT
Denofa Lead: Denofa’s angle and line are far superior to Stoneback, especially through the entirety of the second outside zone. Stoneback was tip-toeing the inside line in an outside zone, while Denofa is full lock and tracing the outside zone. Stoneback closes the gap by the final corner, but likely an advantage for Denofa. Stoneback Lead: Stoneback has a good run on his lead, but Denofa stays close and keeps the pressure on Stoneback. A small steering correction for Stoneback in the second outside zone may be the small mistake that Denofa needs to earn the win, Denofa’s run isn’t overly aggressive but gets the job done. Denofa earns the unanimous win from the judges.Pat Mordaunt vs. Marc Landreville
Mordaunt Lead: Mordaunt has looked very comfortable in this 350Z compared to his last few competition cars, but he may be a dark horse to do well in this event. Mordaunt has a good initiation and line on the big bank, Landreville over-rotates on the switchback in front of the crowd. Mordaunt finishes the run without any mistakes while Landreville’s car sits on the start/finish line and needs a tow off course. There was a slight sprinkle before this run, perhaps the moisture contributed to the spin. Landreville is unable to fix his car in time, Mordaunt earns the win.Justin Pawlak vs. Tyler McQuarrie
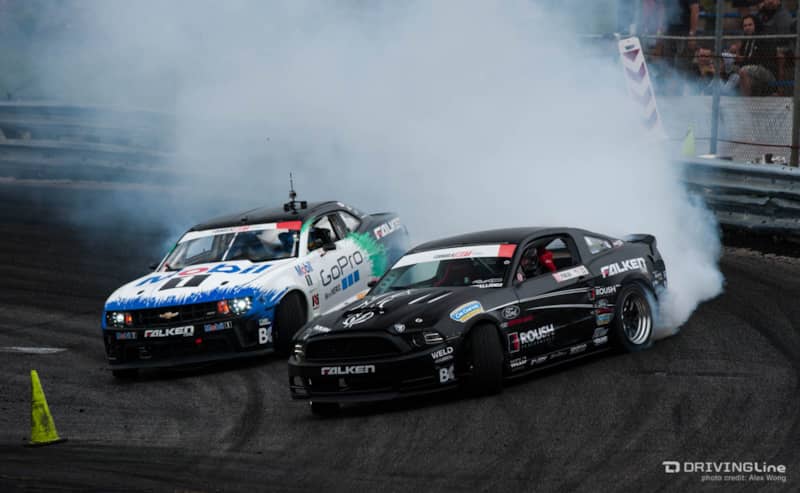
Dan Savage vs. Masashi Yokoi
Savage Lead: Savage with an aggressive flick into the bank, but Yokoi is just inches from Savage’s door through the bank! Yokoi leaves just enough room for Savage to transition, then jumps right back on Savage’s door through the second outer zone. Savage runs a little wide entering the third outside zone and may have dropped a tire on the bank, Yokoi loses proximity in the same area. Likely an advantage for Yokoi due to his aggression in chase. Yokoi Lead: Yokoi runs his line, Savage has moments of brilliance but also some mistakes. Savage has steering angle corrections both entering outside zone two and outside zone three, losing proximity with each mistake. Yokoi finishes his run flawlessly and earns the unanimous win. Savage may not have been able to overcome the Yokoi chase run even with a mistake-free run, but the mistakes made the decision easy.Chris Forsberg vs. Alec Hohnadell
Forsberg Lead: Forsberg has a good lead run, Hohnadell closes the proximity through portions of outside zone two and outside zone three. Hohnadell has showed improvement in his chase runs and consistency this season, but Forsberg’s lead is strong and hard to find fault in. Hohnadell Lead: Hohnadell is looking like a seasoned competitor in his lead run. Hohnadell has a surge of speed through the switchback on the bank, Forsberg closes the gap entering the second outside zone. Forsberg looks to be headed off course, but Hohnadell takes out the clipping point marking the start of the second outside zone first before Forsberg gets there. Hohnadell dumps some big angle exiting outside zone two, but Forsberg maintains good proximity and gets even closer through the final outside zone. A great lead run by Hohnadell, but a calculated and precise chase run from Forsberg. Forsberg earns the unanimous win.Odi Bakchis vs. Jeff Jones
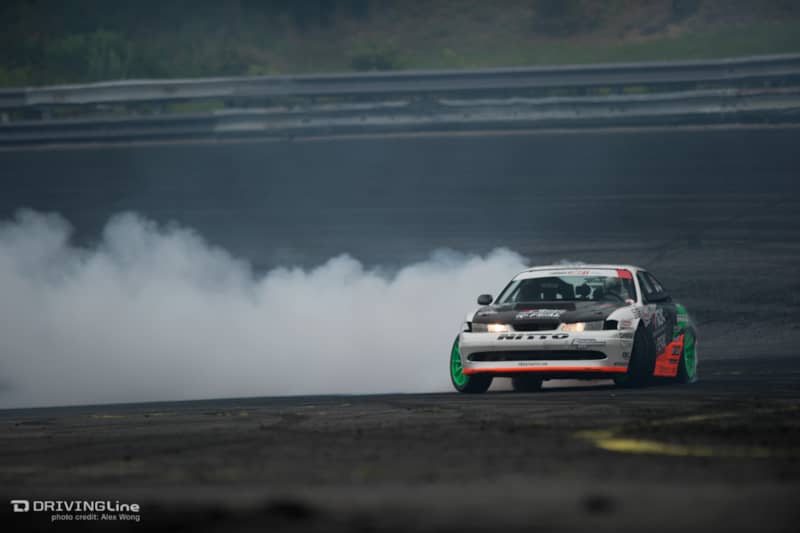
Ford TOP 16
Overall, the start time for the top 16 has been moved up over an hour to try and get the tandem battles in before a big storm that is scheduled to hit later in the evening. Top 16 intros occur under a mix of overcast skies, clearing showers and 20 mph wind gusts. Several young men and women take a pledge to enter the Air Force prior to the national anthem, and the remaining 16 drivers are introduced before doing some donuts and exiting the track in preparation for the top 16 runs. The track is definitely still wet from the showers that happened during halftime, it will be interesting to see what happens during tandem.Ken Gushi vs. Matt Field
Gushi Lead: Speeds are definitely lower than in the previous round due to the wet pavement. Gushi enters and stays high on the bank and taps the guard rail mid-bank which requires a slight correction from Gushi. Field closes the gap too quickly and spins to avoid making contact. Gushi finishes the run cleanly, Field will be at a major disadvantage for the second run. Field Lead: Field is able to maintain drift through the bank, Gushi runs a slightly lower line and wisely leaves a bit of room between him and Field. Field keeps drift through the second outer clipping zone, but spins midway through the third outside zone. Gushi gets the unanimous win after a pair of spins from Field.Daigo Saito vs. Ryan Tuerck
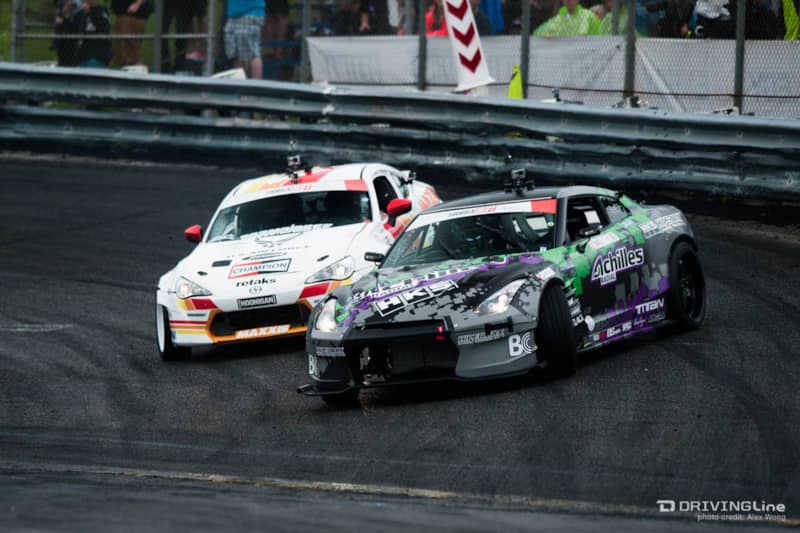
OMT
Tuerck Lead: Tuerck goes full bore into the bank, looks like the bank is drying out quickly. Tuerck transitions late on the switchback and looks to be slowing substantially for the second outside zone when Saito miscalculates the distance and hits Tuerck. Fault to Saito for the contact, seems like Tuerck is drawing contact in nearly every tandem run he makes this year. Saito Lead: Saito runs the bank smoothly and transitions in front of the crowd with Tuerck closely behind. Saito's rear wheels creep up on the bank in the outer zone, which is a deduction, and slows substantially. Tuerck is able to maintain drift and match the speed nicely, Saito has another steering correction on the second switchback which Tuerck adapts to as well. Tuerck gets the unanimous decision, mostly due to Saito's contact on the initial run.Pat Goodin vs. Forrest Wang
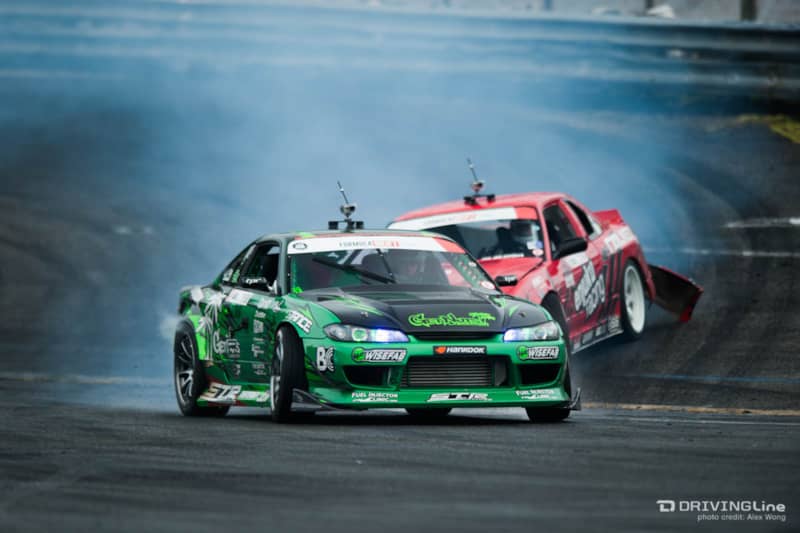
Kenny Moen vs. Dean Kearney
Moen Lead: These drivers are very familiar with each other as they have driven against each other in Europe for years. Moen initiates high on the bank and has a steering correction mid-bank which pushes him high and into the guard rail. Moen’s car straightens out after the guard rail tap, Moen tries to push through the tap but loses drift as he comes onto the apron and shuts it down. Kearney will have a major advantage going into the second run. Kearney Lead: Kearney isn’t as high on the bank as we’ve seen, but doesn’t need to score a perfect run to get the win. Kearney is probably one of the more experienced drivers in these kind of conditions. Moen gets aggressive in his chase, trying to force a mistake, but Kearney keeps his head on straight and finishes the course flawlessly. Moen’s line through the second switchback is a little awkward, and Moen loses proximity around the final turn. Kearney gets the unanimous win.Fredric Aasbo vs. Jhonnattan Castro
Aasbo Lead: Aasbo is high on the bank with plenty of smoke, but the flagger is waiving for a red flag due to Aasbo crossing over the yellow line on initiation. We re-start the run, Aasbo looks good through the bank but Castro is driving straight through most of the bank. It looks like Castro forgot to initiate. Aasbo has a steering correction after the switchback in front of the crowd, but nowhere near as big of a mistake as what Castro had. Aasbo finishes smoothly, Castro never makes up any proximity, major advantage to Aasbo. Castro Lead: Castro gets through the bank smoothly, but spins out shortly after entering the second outside zone. Aasbo takes a quick detour back on the bank to get around Castro then finishes the course smoothly. Aasbo earns the win due to a pair of zeros from Castro.Chelsea Denofa vs. Pat Mordaunt
Denofa Lead: Denofa is always aggressive with his entry, and this run would be no different. Mordaunt exits the bank a bit early, but leaves space for Denofa to transition. Mordaunt’s line isn’t what the judges want to see and he spins entering the second outside zone. Denofa might have put a tire on the bank near the end of outside zone two, but keeps drift through the entire course and will take a major advantage into the second run. Mordaunt Lead: Mordaunt’s line is a bit lower on the bank, but he pushes the distance between the cars through the entirety of the course. Mordaunt’s car clearly is finding grip in places that other drivers haven’t seen yet. There’s discussion about whether this is an inactive chase from Denofa, but judges vote unanimously for Denofa.Justin Pawlak vs. Masashi Yokoi
Pawlak Lead: Pawlak’s car is one of the loudest on the grid! Pawlak has a big entry and pushes some pretty good tire smoke through the bank. Pawlak over-rotates transitioning from the switchback into outer clip two and will be at a major disadvantage entering the second run. Yokoi Lead: Yokoi has a clear E-brake entry into the bank, Pawlak has much more speed exiting the bank and touches tires with Yokoi. Both drivers try to continue on, but there's major damage to Pawlak's front wheel and he pulls off course. Pawlak is at fault for the contact, Yokoi earns his way into the top 8.Chris Forsberg vs. Odi Bakchis
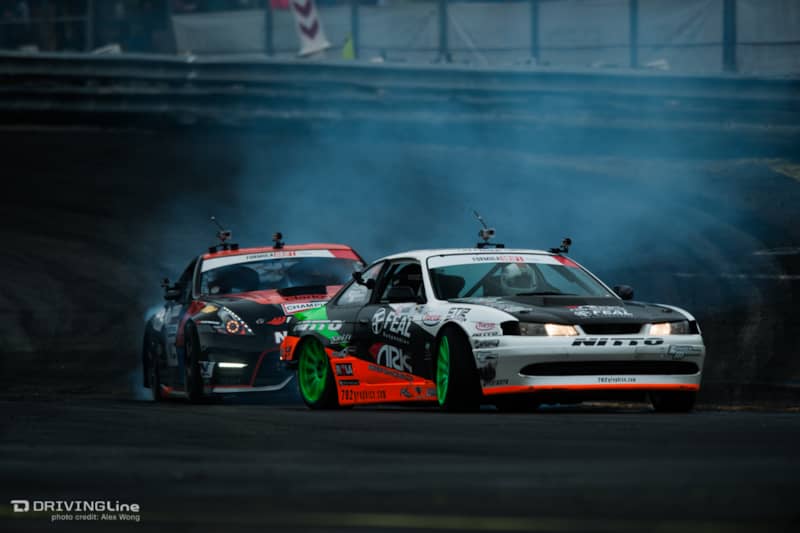
Nitto Great 8
Ken Gushi vs. Ryan Tuerck
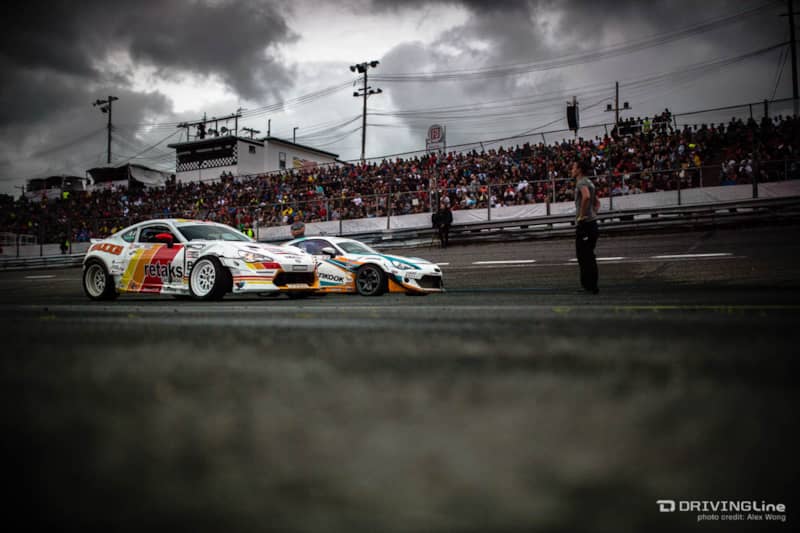
Forrest Wang vs. Dean Kearney
Wang Lead: Wang has a good line through the bank, Kearney slowly closes the gap as they cross the switchback. Wang starts to pull some tire smoke in the later half of the second outside zone, a place where no other driver has seen tire smoke yet. Kearney Lead: Forrest gets aggressive and taps Kearney while exiting the second outside zone. Kearney is unable to make his transition, Wang is determined to be at fault for the contact. Kearney gets the unanimous win.Fredric Aasbo vs. Chelsea Denofa
Aasbo Lead: Aasbo is still running one of the highest lines on the bank, Denofa takes a lower line to keep the proximity close but loses ground after the switchback. Aasbo keeps consistent line and angle through the run, Denofa gains proximity again through outside zone two but loses proximity and angle again entering outside zone three. Several corrections from Denofa likely puts him at a disadvantage for the second run. Denofa Lead: Denofa shows some big angle while exiting the bank, his lead runs have been much better than his chase runs. Denofa runs a much better line and plenty of steering angle through the course, Aasbo closes the gap entering the second outside zone but leaves some room through the rest of the course. There’s definitely a bigger gap than judges would prefer, but far from what can be deemed an inactive chase. Aasbo earns the unanimous decision.Masashi Yokoi vs. Odi Bakchis
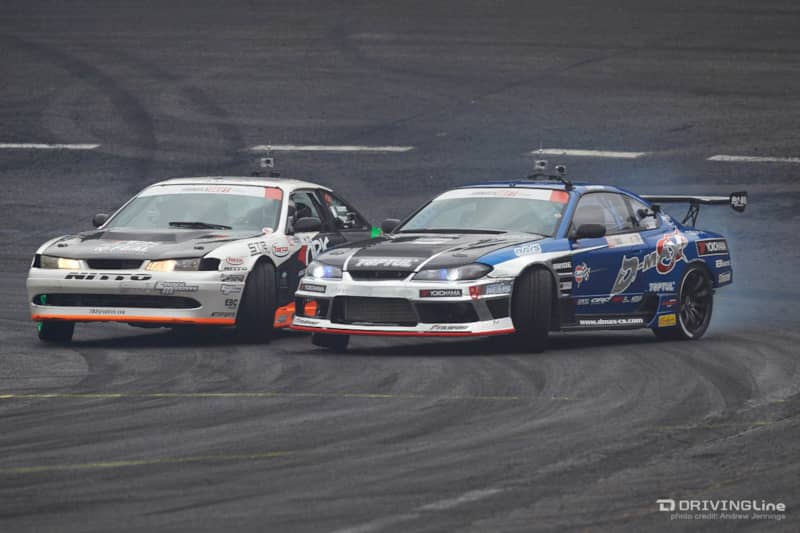
OMT
Bakchis Lead: Bakchis enters the bank, Yokoi sits back through the bank and dives in hard after the switchback, keeping the proximity right at one car through the majority of the second outside zone. Bakchis’s line is a bit conservative, but given that we’ve seen several drivers earn deductions for dropping a tire on the outside bank, we don’t blame him for running that line. Yokoi leaves room for Bakchis to transition exiting the second outside zone and through the second switchback, then closes the gap again through the third outer zone. Perhaps a slight advantage to Yokoi. Yokoi Lead: Yokoi runs his line, Bakchis has almost identical moments of proximity through the run. Yokoi is clearly one of the smoothest drivers, he has substantially fewer steering corrections even in the wet than the other remaining drivers. Bakchis’s proximity appears to be closer around outside zone three than when Yokoi was chasing. Judges vote unanimously for Yokoi. One of the judges explains over the loudspeaker that Bakchis wasn’t filling the outside zones as well as Yokoi was on his lead run, and with proximity in chase being similar, the line of each driver’s lead run because a major point of judging.Nitto Final 4
Ryan Tuerck vs. Dean Kearney
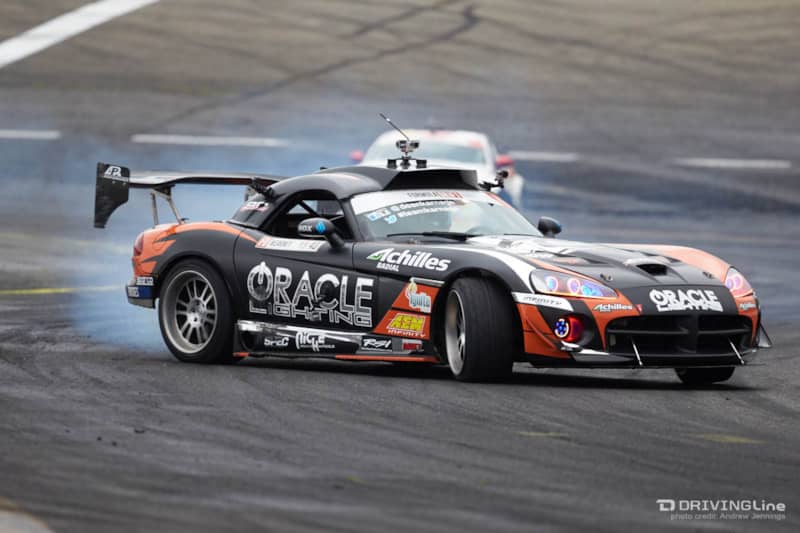
Fredric Aasbo vs. Masashi Yokoi
Rain has started to fall before the battle, and officials have given each driver a chance to feel out the levels of traction before making a pass. Aasbo Lead: These two drivers have battled many times in both FD Japan and also in the US, and have always had heated battles. Speeds are down substantially, but the level of driving is still extremely high. Aasbo has a correction on the switchback in front of the crowd, but Yokoi has a similar correction due to a slow transition after the second switchback. Yokoi Lead: The run feels like it’s in slow motion, but the level of driving is insane. Aasbo keeps good proximity through both outside zones, Yokoi doesn’t make any major mistakes. Tough to make a decision, but Aasbo’s chase looked to be closer and more consistent against Yokoi’s. Judges vote unanimously for Aasbo. Because Ryan Tuerck qualified higher than Masashi Yokoi, Tuerck will earn his second consecutive podium and third of the season.Go Pro Finals
Dean Kearney vs. Fredric Aasbo
These drivers are also quite familiar with each other after years of battle in Europe before both drivers debuted in Formula D back in 2010. Aasbo earned Rookie of the Year honors that year, while Kearney has been battling to climb the standings ever since. This should be a great battle! Both drivers are given a practice run as the conditions are substantially wetter than even the last run. Aasbo Lead: Aasbo has a smooth line and gets out to the outside zone in both zones two and three. Kearney has a steering correction coming across the switchback in front of the stands, but otherwise has good proximity through the course. Kearney Lead: Kearney doesn’t make any mistakes, but is a bit shallower on his line compared to Aasbo’s lead. Aasbo has good proximity, especially given the conditions. Judges have found a winner.