Merchant Automotive Tie Rod Sleeve Install
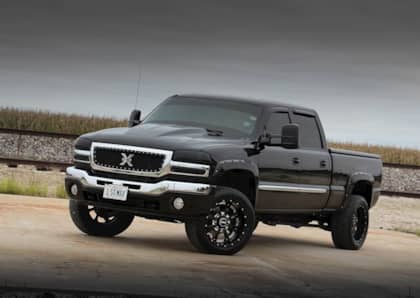
It’s no secret that the Achilles heel on the 2001 to 2010 GM ¾- and 1-ton HD trucks is the weak tie rods they leave the factory with. Spirited off-road driving, aggressive tires and added horsepower and torque can all lead to their demise. Added stress forces them to flex, causing severe toe-in scenarios, and eventually irreparable damage.
Whether you’re a pavement pounder or live your life off the beaten path, this means an early end to a fun weekend — a truck that never makes it down the track, or worse, you’re left stranded in the middle of nowhere.
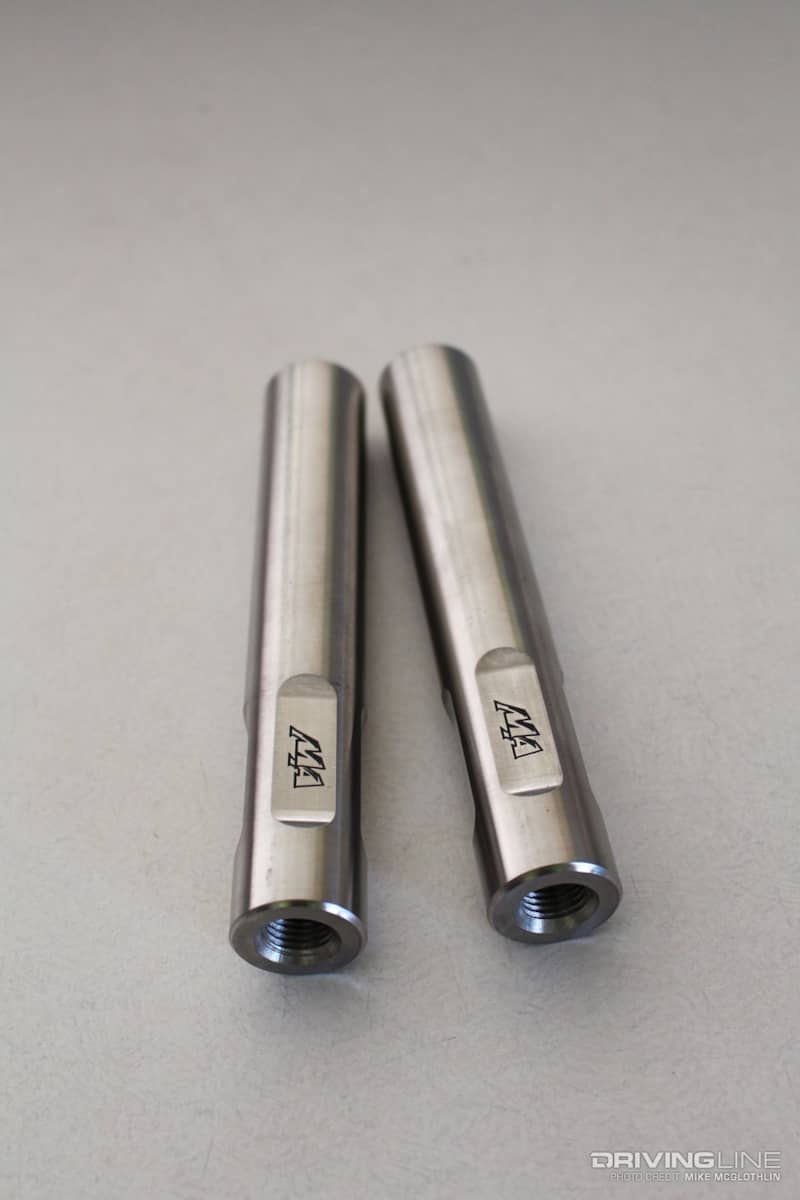
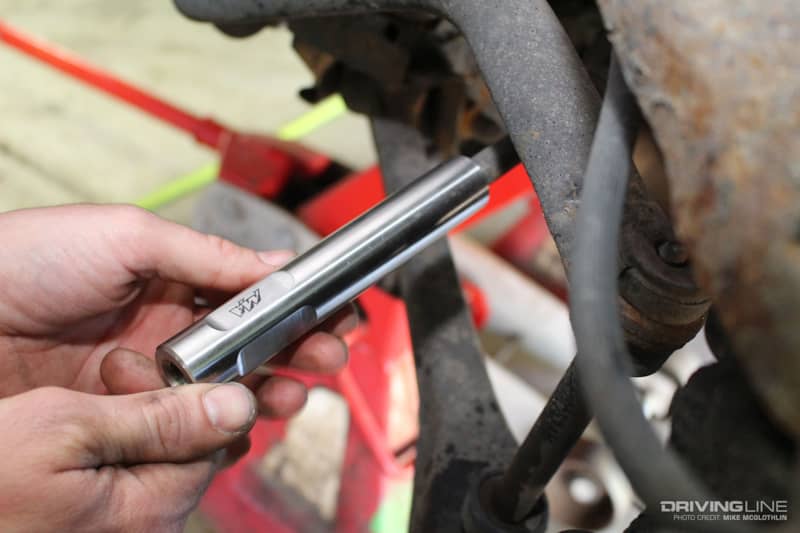
As a truck enthusiast, it’s rare for $80 to get you very far. But occasionally the aftermarket creates a simple product that cures a common problem for next to nothing. Enter Merchant Automotive’s tie-rod reinforcement sleeves. They add tremendous strength to the weakest section of the tie rod: the threaded area between the rack and outer tie rod, and the stainless steel construction keeps them from rusting.
Read on for a full play-by-play on how you can add reliability, safety and performance to your GM’s steering system in less than 30 minutes.
Sleeves = girth. Here, you get an idea just how much more girth the Merchant Automotive sleeves add to the tie rod on ’01-’10 Chevy and GMC HD trucks. The stock inner tie rods measure 14.2 mm (O.D.). With the Merchant Automotive sleeves threaded on, they bulk up to 25.5 mm. At $79.95, these sleeves are the cheapest insurance your GM’s independent front suspension could ask for.
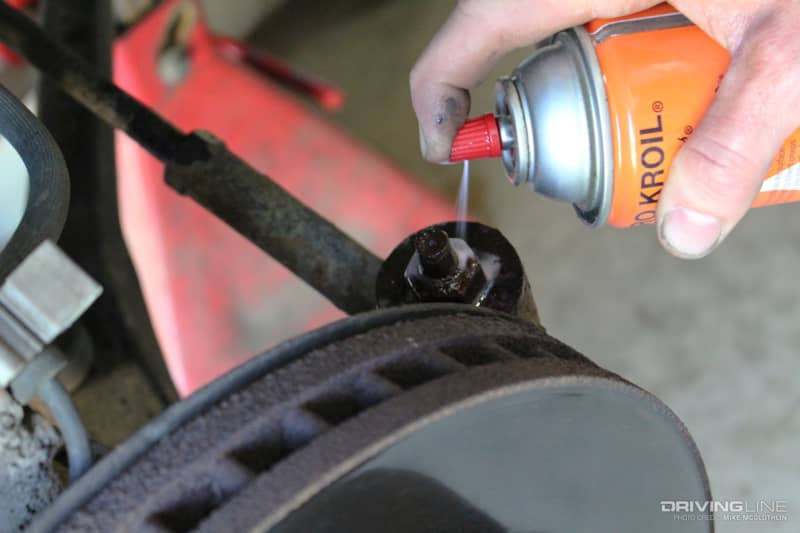
Before any wrenches get turned, douse the ball stud nut and tie rod jam nut with your favorite penetrating oil and place the truck’s front end on jack stands. You don’t have to, but we pulled both front wheels off of the truck to maximize our access to each component.
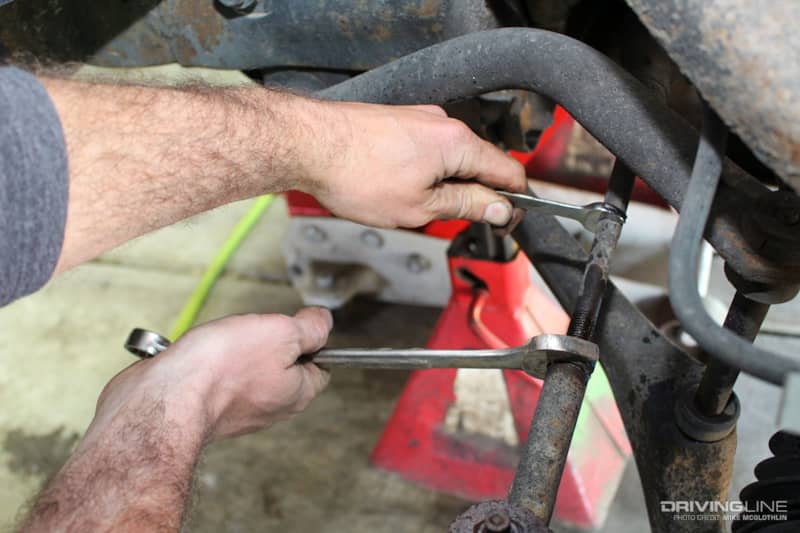
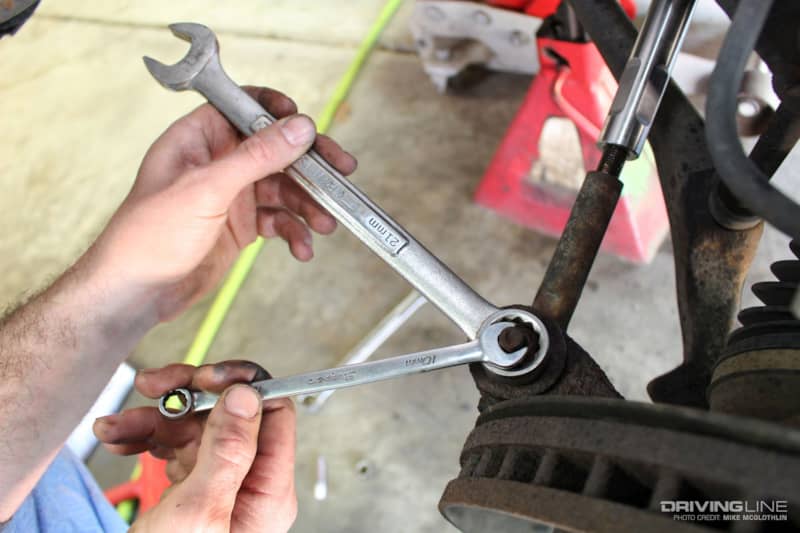
Breaking the jam nut loose requires a 22 mm wrench and a 13 mm wrench on the hex portion of the outer tie rod (toward the engine).
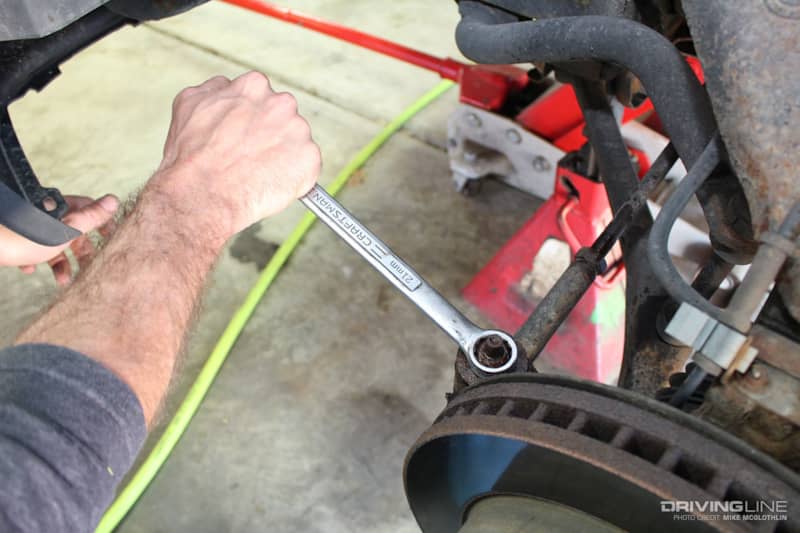
Freeing up the ball stud nut calls for a 21 mm wrench. If the top portion of the stud turns, a 3/8-inch wrench (or 10 mm) can be used to hold it in place.
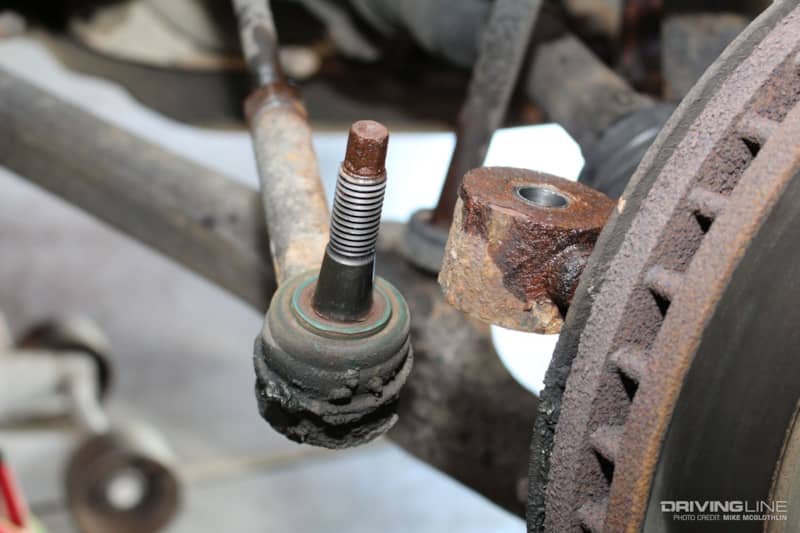
To get the outer tie rod out of the spindle, we tapped the spindle with a mini sledge.
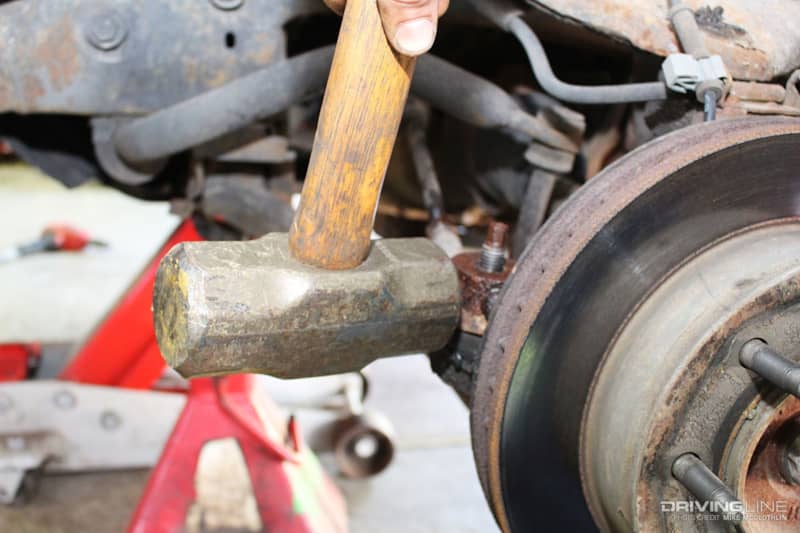
Note that the outer tie-rod stud is tapered. You never want to hit the top of the stud in order to drop it down, out of the spindle.
Now it’s time to count the number of turns it takes to remove the outer tie rod from the inner (18 to 22 turns is typical). Counting the turns allows you to get the alignment as close as possible when the outer tie rod is threaded back on.
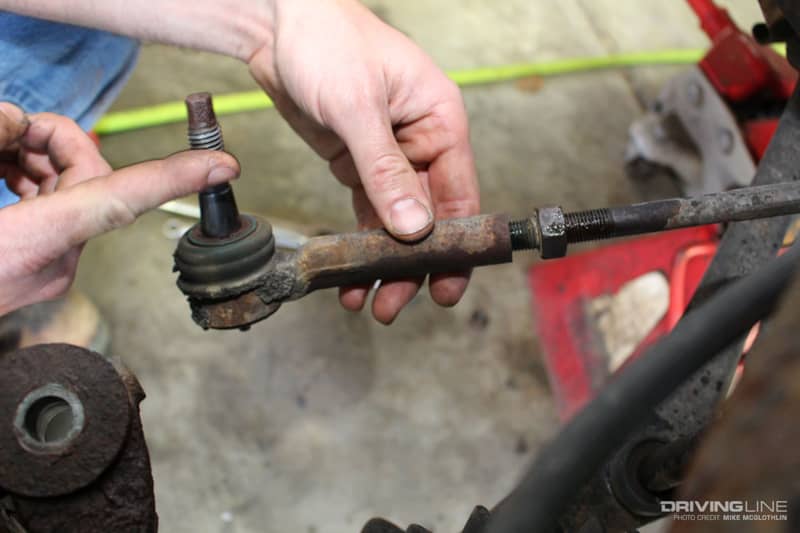
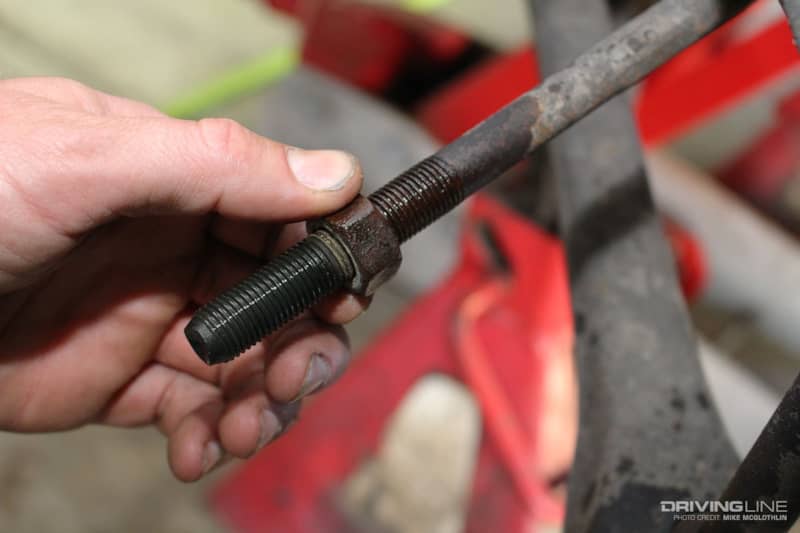
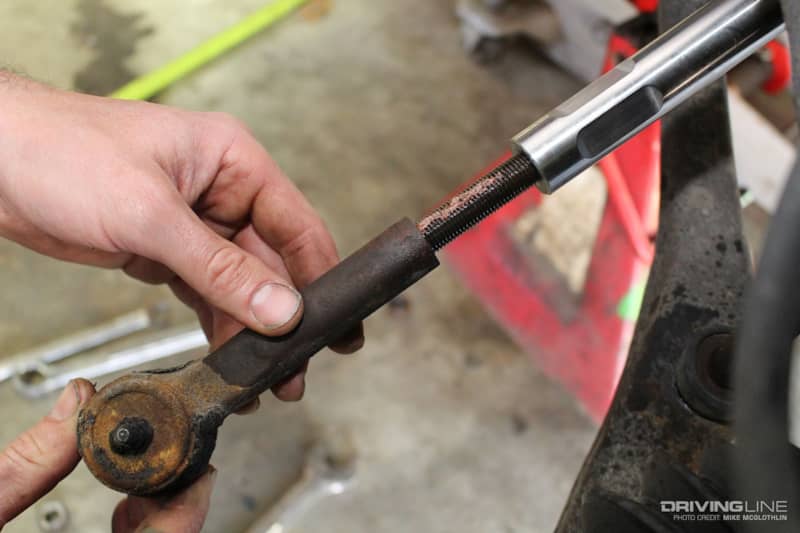
Remove the factory jam nut from the inner tie rod and discard it. It is not reused, as the sleeve will actually serve as the new jam nut once it’s installed.
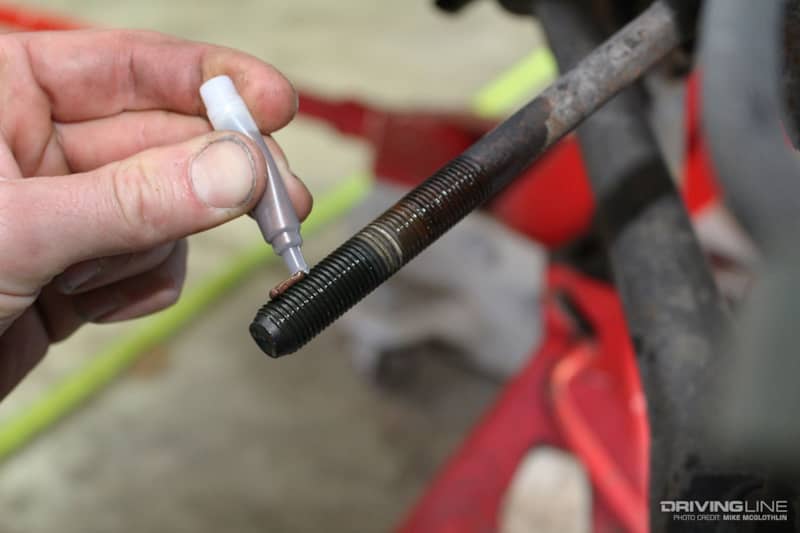
Prior to installing the tie-rod sleeve, apply anti-seize to the inner tie rod’s threads. Merchant Automotive supplies anti-seize with all of its tie rod sleeves.
Go ahead and run the sleeve up the inner tie rod as far as it will go for now. The tie-rod sleeve installs so that the threads engage the outer portion of the inner tie rod (closest to the wheel).
Before reinstalling the outer tie rod, coat the inner tie rod’s threads once more with anti-seize. This will make the impending alignment job that much easier on the shop you take your truck to. Now thread the outer tie rod back on and make the same amount of revolutions you counted during disassembly.
Place the outer tie rod stud back into the spindle and reinstall the spindle nut. Again, you can keep the stud from turning by placing a 3/8-inch or 10 mm wrench on the hex portion (top) of it.
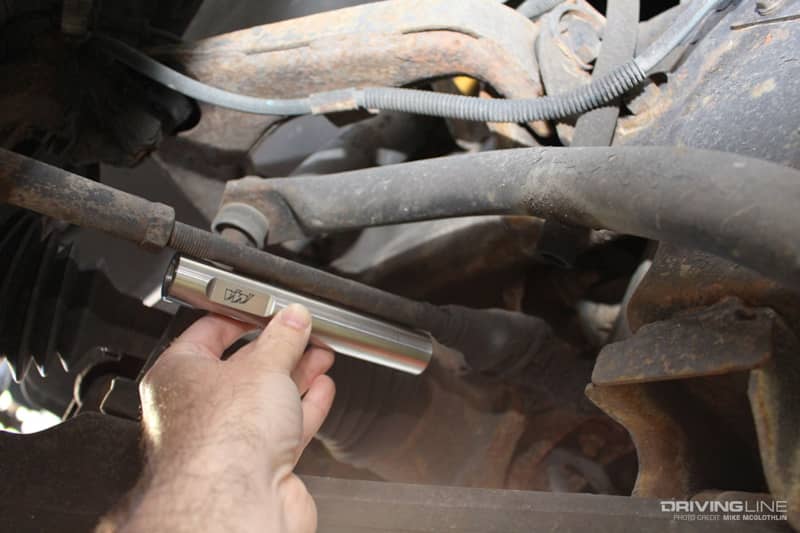
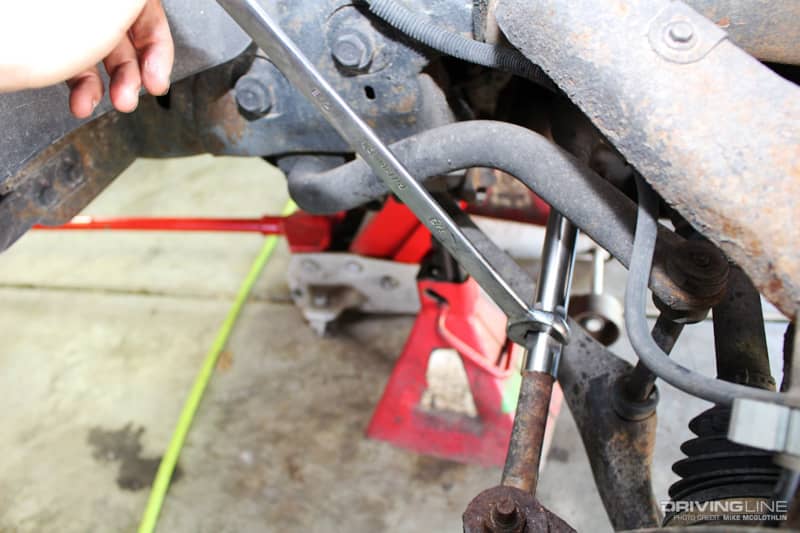
Thread the sleeve down to where it stops at the outer tie rod and snug it up with a 7/8-inch wrench. As you can see, the sleeve effectively becomes the jam nut. All of the same steps apply to the installation process on the passenger side of the truck.
The final step requires you to have the truck’s front end aligned. Granted, the thread counting method of removing/reinstalling the outer tie rod gets you close to where you were, but it won’t be perfect until you visit an alignment shop.