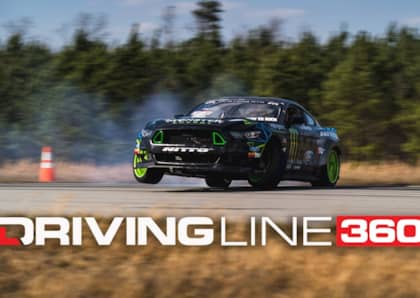
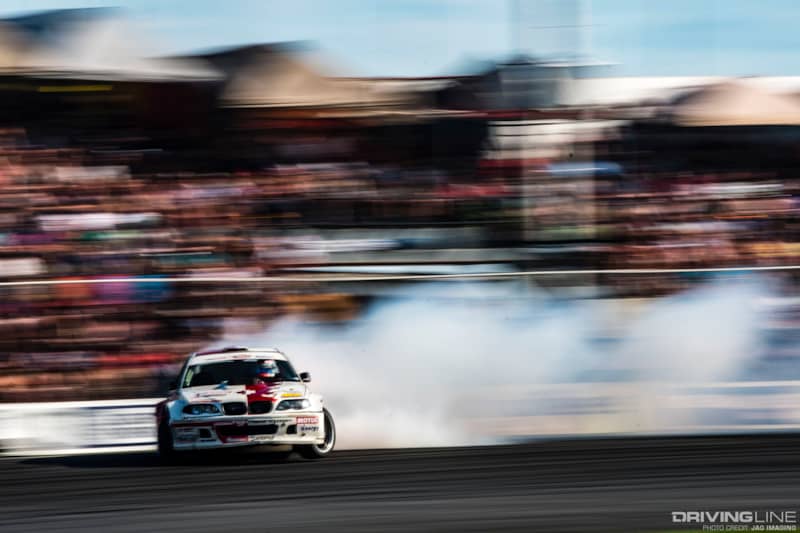
2017 Formula Drift Canada Top 32 Play-by-Play
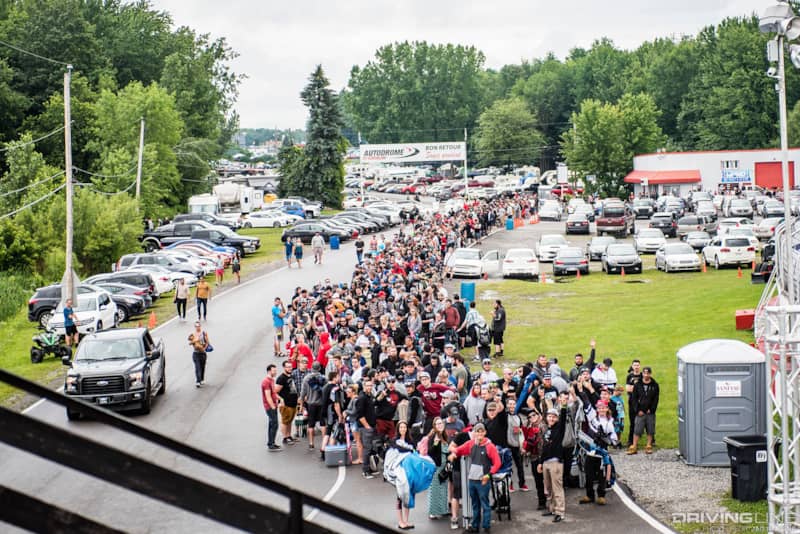
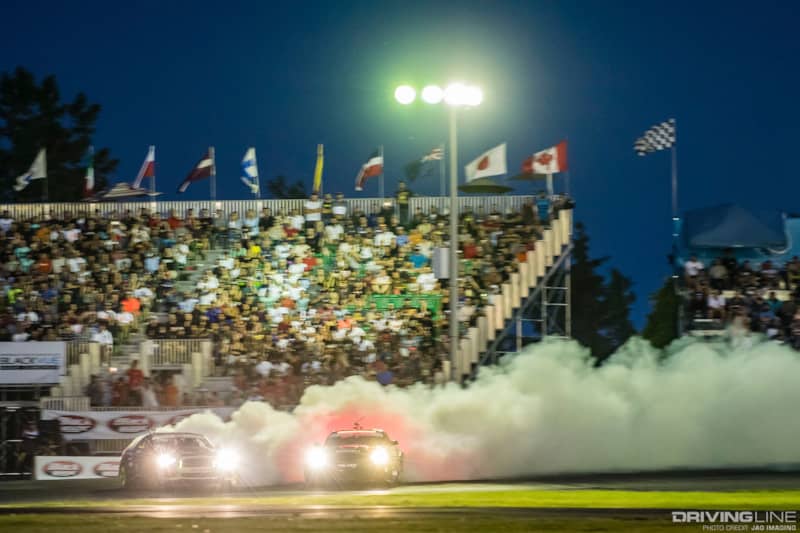
Formula Drift slides into Autodrome St. Eustache for the third consecutive season — the second season in a row that the round will count for Championship points. The fans in Montreal are known to be pretty enthusiastic, and this year’s event was sold out prior to the gates opening on race day. The Formula Drift Canada Top 16 competition was the appetizer for the day, with Tyler Nelson defeating his teammate Jonathan Nerren in the Final.
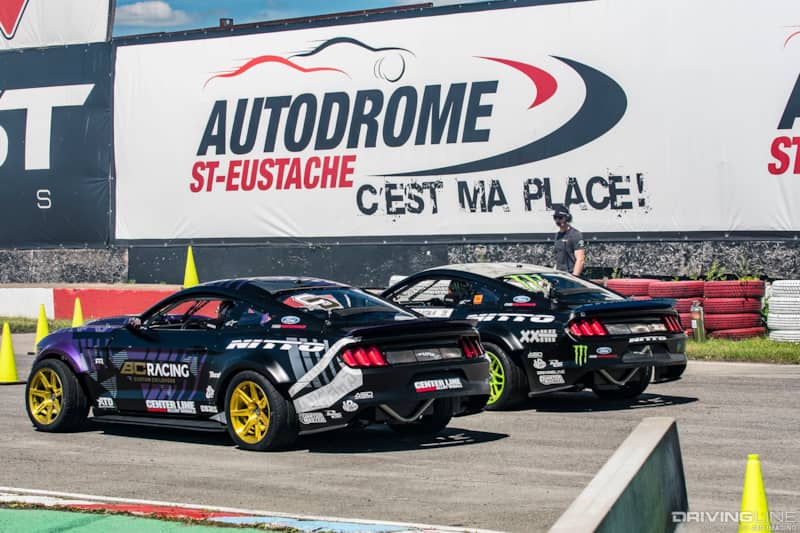
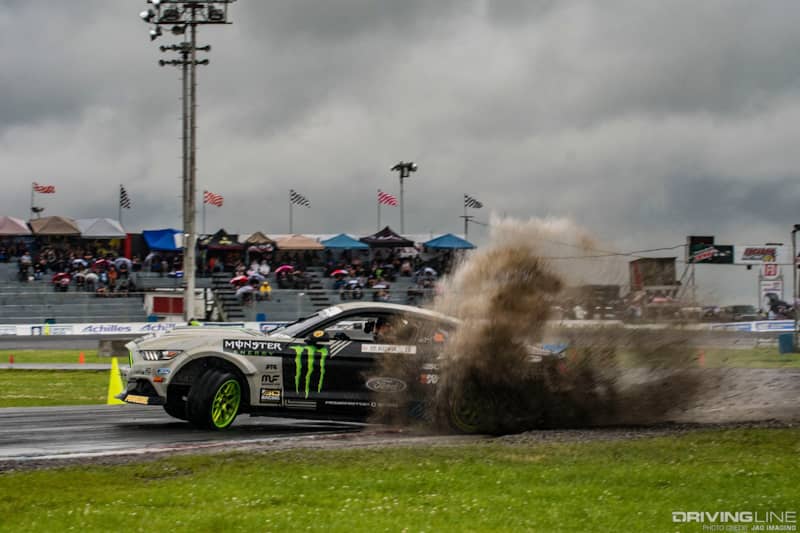
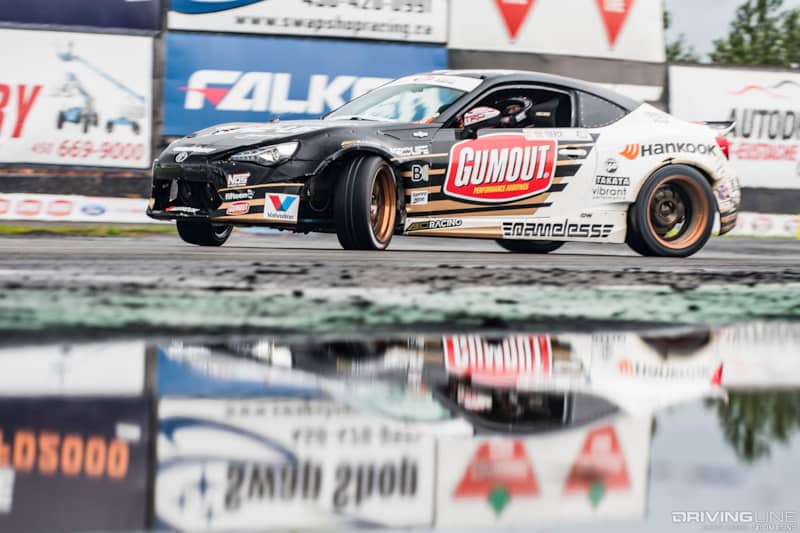
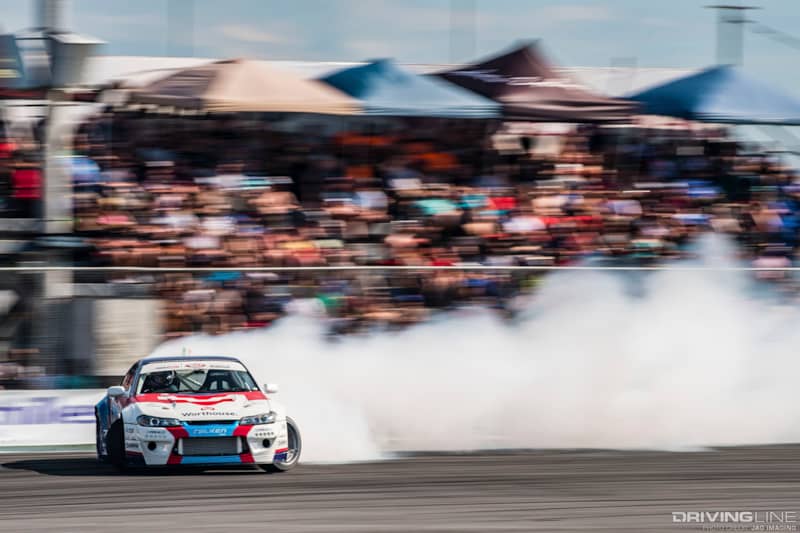
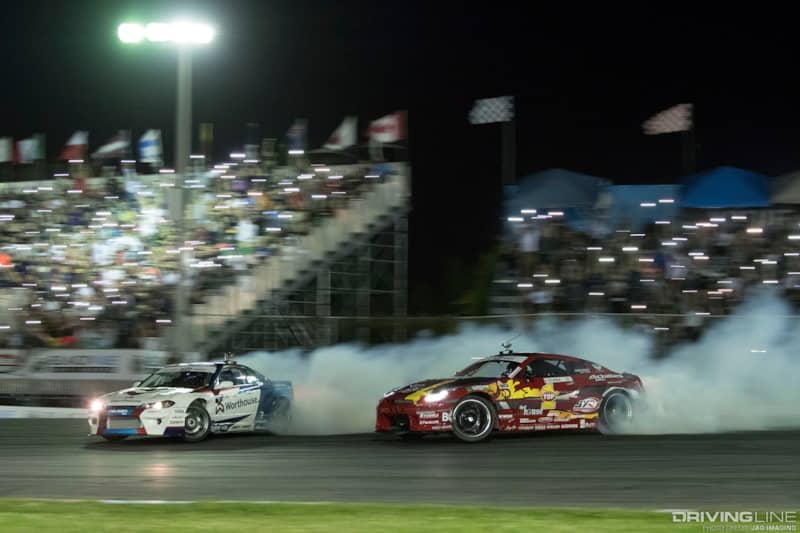
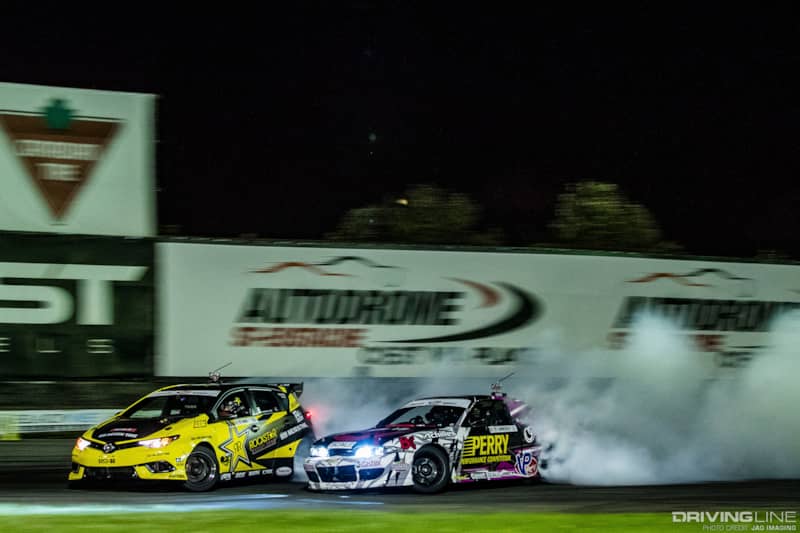
(Photos: Jag Imaging)
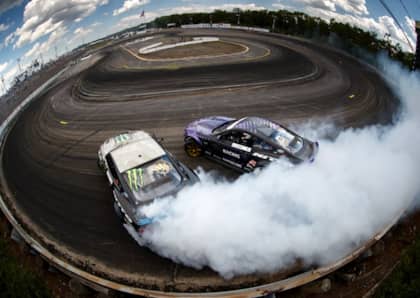
THE COURSE
The St. Eustache course is one of the longer courses on the circuit. Starting on the front straightaway and running the course in counter-clockwise orientation, drivers are hitting around 80 mph before initiating into the first turn. Although Autodrome St. Eustache appears to be an oval, the first sweeper isn’t perfectly round and can be misleading to the drivers if they try to ride the wall too early in the turn.
Drivers are asked to push out to the wall by the end of the sweeper, before transitioning along the back straight to an inner clipping point that is set midway through the course similar to the switchback clipping points we typically see at Wall Speedway and Irwindale Speedway. Drivers then transition back toward the wall and briefly tap a "touch-and-go" section before driving through a second left-hand sweeper. One final transition pushes drivers to a final inner clipping point before finishing across a marked finish line on the road course.
QUALIFYING
The Qualifying session on Friday took place in very mixed conditions, with a substantial rain storm dumping torrential amounts of water on the track just before Qualifying was scheduled to start. While the rain let up around 20 minutes before practice, drivers faced a course with mixed moisture levels in their first Qualifying run, but nearly all drivers had a full dry course for their second Qualifying run. With only 24 drivers showing up in Montreal, the top eight drivers would receive bye runs into the Top 16.
James Deane proved to master the course best, laying down a strong 88-point run and backed it up with an 85-point score to earn the top spot. Both Kristaps Bluss and Justin Pawlak scored 88-point runs on their best passes, but with backup scores of 82 and "Incomplete" respectively, Bluss would take second while Pawlak would slot into Q3. Fredric Aasbo, Chelsea DeNofa and Ryan Tuerck all scored 87-point runs on their best runs, which meant Q4 through Q6 would also come down to the secondary scores. Aasbo earned an 84, DeNofa earned a 60, while Tuerck had an "Incomplete" as a secondary score, which placed those three drivers in Q4, Q5 and Q6 respectively.
Saturday’s weather is shaping up to be perfect for the tandem battles, so we’re excited to see how this shakes out!
TOP 32
There was a brief delay in the start of the Top 32 as the paramedics from the track were called away to assist with a vehicle accident near the track. Thankfully, the delay was only around 20 minutes, and we’re back underway. Prior to the start of the event, the drivers voted to require drivers to make a pass for their bye run to help put on a better show to the clients.
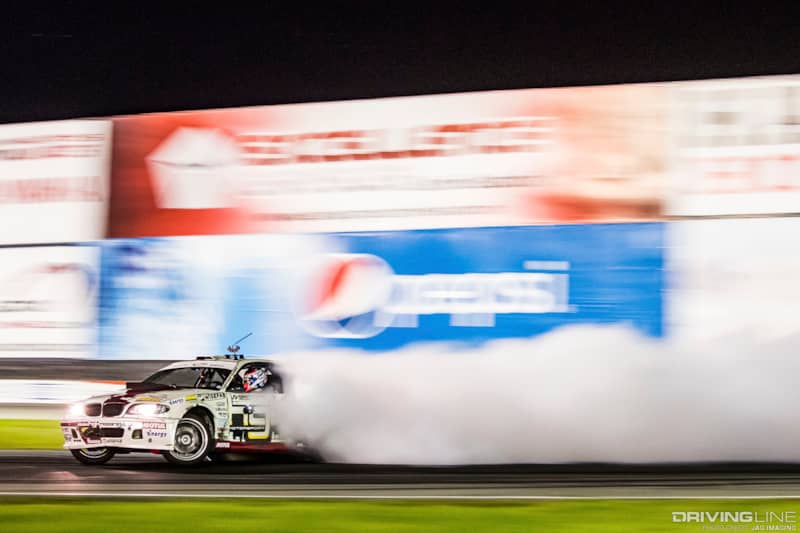
James Deane – Bye Run
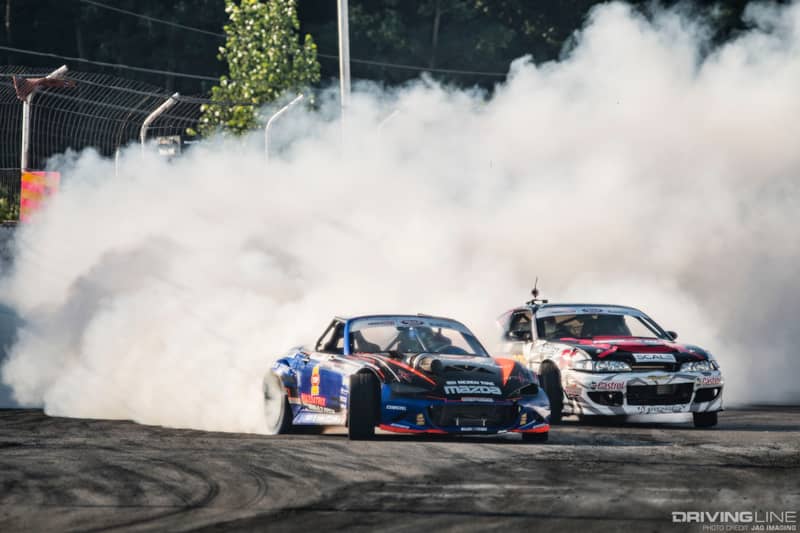
DEANE LEAD – Deane makes a full pass around the course, keeping his car several feet from the wall to avoid any major damage, but with plenty of tire smoke and style. Deane is the current points leader, and he will extend the lead with his first top qualifier award in Formula Drift. The Worthouse Drift pits will be very busy wrenching to get his teammate Wiecek’s car back on track after a major crash on the wall near the end of the morning practice session.
Dai Yoshihara vs. Chris Forsberg
YOSHIHARA LEAD – Yoshihara initiates nicely, Forsberg is around a car length behind Yoshihara into the first turn. Great transition from Yoshihara along the back stretch in front of the grand stands, Yoshihara keeps good steering angle along the second sweeper with Forsberg still only a car length behind him. Yoshihara fills the outside zone nicely and extends to lead to around three car lengths around the final turn.
FORSBERG LEAD – Forsberg has a good initiation, Yoshihara is very tight on him into the first turn and remains tight to him across the transition on the back stretch. Forsberg nudges the second front clipping point out of the way, Yoshihara looks to be much closer to Forsberg in chase than what we saw on the previous run, but Yoshihara taps the final clipping point out of the way. Forsberg was definitely closer to the walls and outside zones, but Yoshihara had very good proximity.
No major mistakes from either driver — really a clean set of runs from two former champions. All three judges vote for Yoshihara to move on to the Top 16.
Piotr Wiecek – Bye Run
WIECEK LEAD - Wiecek had to call his competition timeout due to a crash late in the practice session. Unfortunately, he is unable to get the car repaired in time, which means he will not be given the win. Again, this was a change that was made at this event and requested by the drivers to give them additional practice time, but that decision has left Wiecek on the sidelines in the Top 32. Whoever wins the next tandem battle will receive a bye run in the Top 16, which will give them a fast pass into the Great 8.
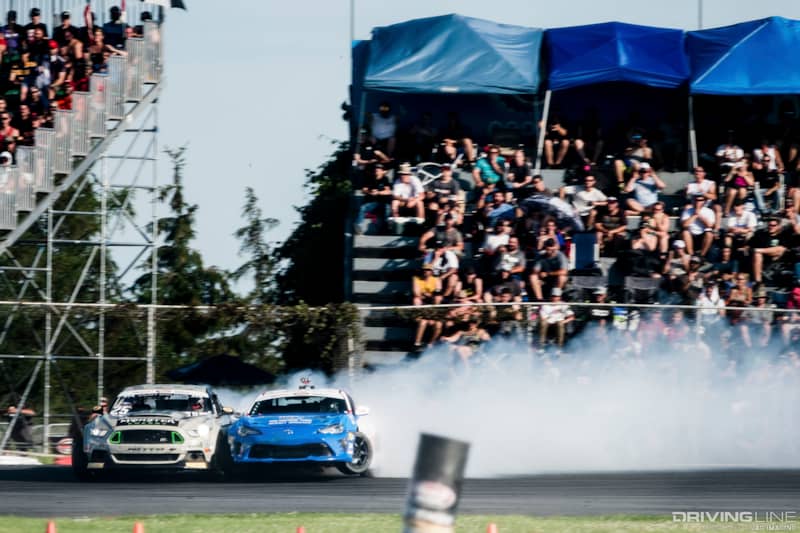
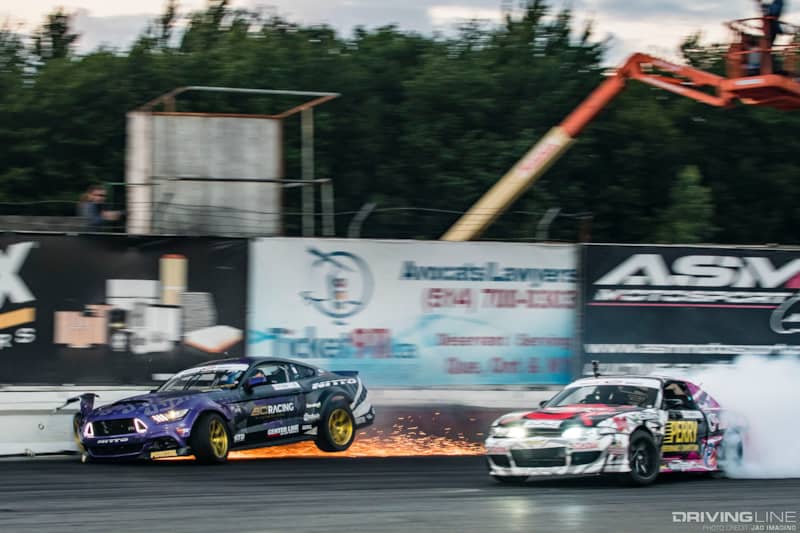
Odi Bakchis vs. Robbie Nishida
BAKCHIS LEAD – Bakchis holds a two-car lead after intiation, but quickly extends it to around three cars by the end of the first sweeper. Nishida closes the gap across the transition on the back stretch and stays close into the second sweeper, while Bakchis has a good run with tons of smoke. Around the final turn, Nishida carried too much momentum and slides off course just before the finish line.
It appears that Nishida is at fault for flying off the track, but upon replay, it reveals that Bakchis was off throttle in an acceleration area, which means Nishida will not be granted an "Incomplete" run. There was some light contact between the cars, probably not enough to break any parts but Nishida will be given "reasonable time" to make any potential repairs to his car if needed.
NISHIDA LEAD – Bakchis has great proximity behind Nishida on initiation. Nishida’s car looks really unstable and bouncy as he drives, but he keeps consistent steering angle and tire smoke from Nishida’s GTR. Bakchis kept a consistent car and a half of distance behind Nishida around the course, Nishida slides fairly wide around the final turn but remains on course. All three judges vote for Nishida to move on. He will have a quick pass into the Great 8 due to Wiecek being unable to make his pass.
Fredric Aasbo – Bye Run
AASBO LEAD - Aasbo has looked dialed in his Toyota Corolla iM all weekend, and this run is no different. Aasbo is a few feet away from the walls and the clipping points, similar to Deane’s bye run, but that’s all it takes on a bye run.

Nate Hamilton vs. Michael Essa
HAMILTON LEAD – Hamilton uses a manji entry, Essa is slow to get to full angle but sucks in tight to Hamilton by midway through the first corner. Hamilton fills the first outer zone nicely, but doesn’t push out to the second outer zone as much as the judges would like to see. Essa has some steering corrections and moments of less angle in his chase run, but maintains a relatively consistent two car gap between the cars around most of the track. Some slight mistakes from both drivers, but nothing that stands out as giving one driver a distinct advantage over the other.
ESSA LEAD – Essa rubs the wall twice and is dragging his back bumper around the first sweeper. The bumper is dragging his bumper behind the car for most of the track. As the cars transition across the switchback, Essa loses his right rear tire. Essa stays on the throttle and continues to navigate around the final two turns of the track with only one tire in the rear, amazingly maintaining very good tire smoke and angle through the rest of the course. The crowd erupts and cheers him on around the final half of the track; this is insane! Hamilton does a great job maintaining proximity behind Essa, despite Essa being much slower with half of the traction of a normal run.
If this tire debeading happened on the first run, Essa would be disqualified and not allowed to continue into the second run because he wouldn’t be allowed to replace the tires. But since this happened in the second run, the run will count and be judged normally. All three judges vote for Nate Hamilton to move into the Top 16, citing the slowness of Essa and Hamilton’s ability to follow despite the unorthodox run being a major reason.
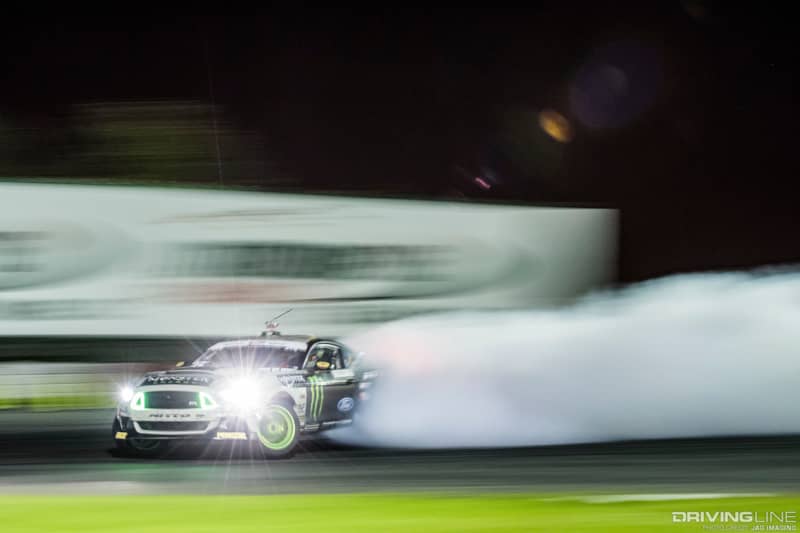
Chelsea DeNofa – Bye Run
DENOFA LEAD – DeNofa out-qualified his Nitto Tire Ford Mustang RTR teammate for the second consecutive event and has looked more and more comfortable in the car at the past two events. DeNofa has a great pass with tons of tire smoke, and looks dialed for the Top 16 round of competition.
Marc Landreville vs. Kyle Mohan
LANDREVILLE LEAD – This is Landreville’s home track, and he looks very comfortable on this track. Last season, Landreville was disqualified for tapping start line cones, so this is his first tandem competition at this track as part of the Formula Drift Championship. Landreville has a great run, extending a lead very quickly to around four car lengths and maintains substantially more tire smoke around the entire track.
MOHAN LEAD – Mohan has a good initiation, Landreville closes the gap very early but has to slow down substantially to avoid contact and loses some ground on Mohan. Landreville had a lower line around the first sweeper, which didn’t set him up well for the rest of the track. Mohan takes advantage of the opportunity and extends his lead around the next two corners to around five car lengths with a good line around the corner, Landreville takes a shallower line to try and make up ground but doesn’t close the gap down much. This was a tricky pair of runs to score as there were some big mistakes from both drivers. One judge votes for Landreville, while the other two want to see a “One More Time." We will see this battle again!
One More Time
LANDREVILLE LEAD – Landreville has a big gap again on his lead, around four car lengths by the end of the first turn. Landreville extends his lead to around six car lengths by the end of the run. Mohan slides off course just before the final turn, it looks like he got lost in the smoke of Landreville.
MOHAN LEAD – Mohan has a much strong lead run, but Landreville stays close in his chase. Mohna has good steering angle and puts his cars in the right places especially near the outer zones, Landreville doesn’t have as much steering angle and doesn’t fill the outside zones as much but maintains much better proximity. Landreville was never more than four car lengths behind Mohan, and spent more time just a pair of car lengths behind Mohan than not. All three judges vote for Landreville to move into the Top 16, and the crowd lets out a big cheer for their hometown driver.
Kristaps Bluss – Bye Run
BLUSS LEAD – Bluss had a fairly big crash in practice similar to Wiecek, but it happened earlier in practice which allowed the HGK Racing team to make repairs in time for this bye run. Bluss gave us the most aggressive bye run we’ve seen today, likely feeling out the course due to missing a substantial amount of practice from the crash. This was a very exciting run to watch, and Bluss looks poised to make a return to the podium for the third consecutive event.
Matt Coffman vs. Alec Hohnadell
COFFMAN LEAD – These drivers are teammates this year, but neither of there are definitely not any team orders between them. Coffman has a great run with tons of tire smoke and angle, Hohnadell closes the gap very quickly in the first turn. Hohnadelll nudges Coffman near the end of the outer zone, but doesn’t affect Coffman’s line. It looks like Hohnadell dumps some big angle after the switchback on the back straight and over-rotates a bit, which puts him on an awkward line through the second sweeper. Coffman finishes the courst with tons of tire smoke and substantially more angle than Hohnadell around the final turn. Hohnadell’s line around the final turn is awkward, and he ends up sliding off course just past the finish line. This will still be a fully scored run from Hohnadell, but in sliding off course and through the grass, it appears that Hohnadell may have damaged something as he has to call his competition timeout.
HOHNADELL LEAD – Hohnadell was unable to make repairs in time for the second run, so Coffman has a bye run into the Top 16. Coffman’s pit crew was helping Hohnadell to try and put on a show for the fans, but the clock ran out before repairs on the rear corner of Hohnadell’s car could be completed. All three judges unsurprisingly vote for Coffman to win this battle.
Matt Field – Bye Run
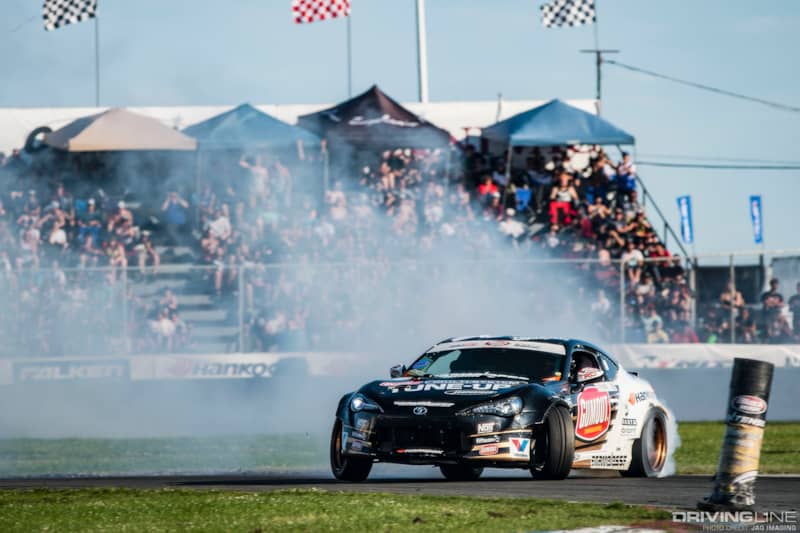
FIELD LEAD – Field gives another good run to the fans with tons of tire smoke. Field hasn’t finished any higher than Top 16 this season, but he looks to be ready to break that streak in Montreal. He definitely has the car to make it happen!
Dean Kearney vs. Jeff Jones
KEARNEY LEAD – Kearney is another driver who had some issues during practice, but his Oracle Lighting team was able to make the repairs to the car in time for this battle. Kearney has some big angle into the first turn and quickly extends the gap to around three car lengths through the first turn. Kearney is putting out tons of tire smoke and extends his lead through the entirety of the course, while Jones struggles to keep up and has some major corrections in chase behind Kearney.
JONES LEAD – The lead run from Jones wasn’t as strong as the run from Kearney, but the chase run from Kearney isn’t very strong either. Kearney is around four car lengths behind Jones through most of the course; it looks like he left some room to try and close the gap but wasn’t able to close it down as he planned.
Jones takes out the final clipping point, which will be a slight deduction. All three judges vote for Kearney to move on to the Top 16.
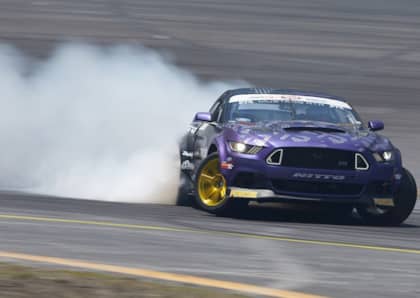
Justin Pawlak – Bye Run
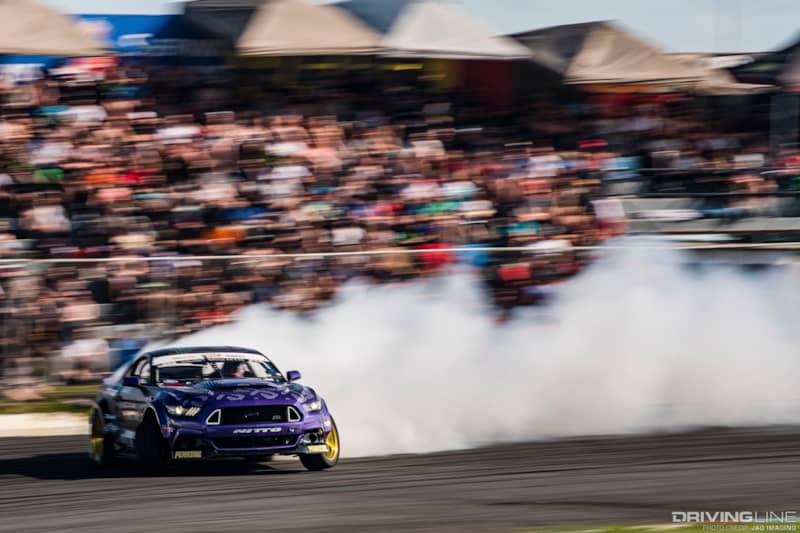
PAWLAK LEAD – Justin Pawlak’s Mustang is the second Ford Mustang we’ve seen a bye run from today, the first being DeNofa. Pawlak’s Roush Performance Ford Mustang puts out tons of tire smoke; he looks ready for the Top 16!
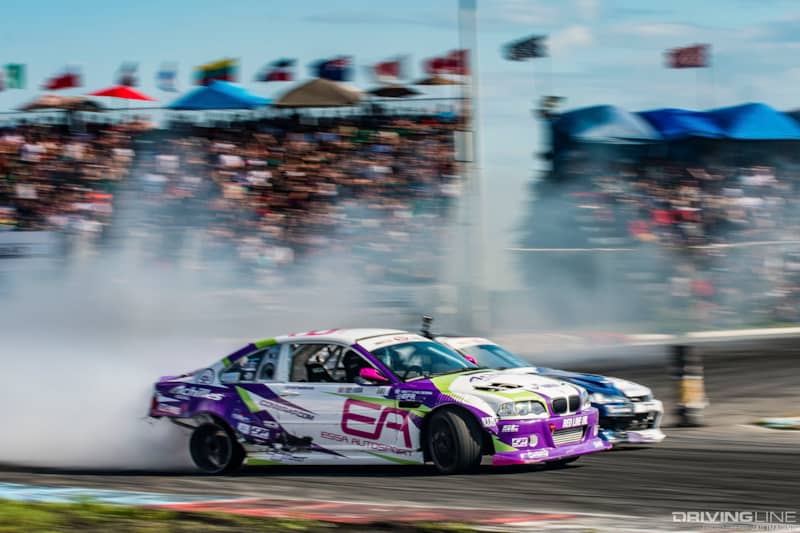
Jhonattan Castro vs. Vaughn Gittin Jr.
CASTRO LEAD – Castro initiates with Vaughn Gittin Jr. about two car lengths ahead of Gittin Jr. Castro doesn’t quite fill the first outer zone as much as the judges would like to see, but does fill the second outer zone nicely. Gittin Jr. keeps a very consistent amount of proximity behind Castro in chase, and has very similar steering angle around the course. Gittin Jr. clearly runs a very loose setup.
GITTIN JR. LEAD – Castro initiates a bit later than Gittin Jr. and sucks in super tight to Gittin Jr. midway through the first turn. Castro backs off and Gittin Jr. opens up the gap to around three car lengths by the first switchback. Midway through the second sweeper, Castro makes contact with Gittin Jr. which forces Gittin Jr. to spin out.
Looking at the replay, Gittin Jr. was definitely on throttle through the sweeper, so fault will likely be assessed for Castro for the collision. All three judges vote for Gittin Jr. to move on to the Top 16, where he will face fellow Ford Mustang driver Justin Pawlak.
Ryan Tuerck – Bye Run
TUERCK LEAD – Tuerck has a pretty stylish run and actually over-rotates after the back straight switchback, but is able to power out of it which just adds to the flare of the run. Tuerck apparently has had some mechanical issues over the weekend, but everything looks to be running in top shape just in time for Top 16. Tuerck will move on to the Top 16.
Ken Gushi vs. Pat Goodin
GUSHI LEAD – Gushi has big angle into the first turn while Goodin has very shallow angle and looks to be struggling. Initially, Goodin was only a car length away from Gushi, but that gap is quickly opened up to nearly four car lengths by the middle of the back straight switchback and continues to grow over the second half of the run. Goodin has several steering corrections in chase, and really doesn’t fill any of the outside clipping zones as requested from the judges. This will likely be a big advantage to Gushi after the first run.
GOODIN LEAD – Goodin has a much smoother lead run than on his chase run, Gushi is very aggressive on his chase run and clearly the more dominant driver. Goodin has better steering angle and is more consistent than on his chase run, Gushi is never more than two car lengths behind Goodin. One judge votes for Gushi, while two judges want to see this battle go "One More Time." We will see this battle again!
One More Time
GUSHI LEAD – Gushi has another strong lead run, this is probably a better run than his first lead run while Goodin has a similar chase run to the first time around. Gushi has much more steering angle and keeps a six- to seven-car lead ahead of Goodin around the track, Goodin drops a tire into the dirt around the final turn which won’t help his cause.
GOODIN LEAD – Just before pulling to the line, Goodin calls his competition timeout to inspect his car from dropping a tire on the final turn. He’s able to make repairs to the car and make the call for this second run. Goodin looks much stronger on his lead run, similar to the first battle between these two, but Gushi looks equally as aggressive as in the first round. All three judges vote for Gushi to move on to the Top 16.
FORD TOP 16
Since this event takes place in Canada, we get to hear “O Canada” to start off the Top 16 driver introductions. James Deane receives his “Bag o’ Cash” from Black Magic as the top qualifier, and we get to see some burnouts before the tandem competition starts. This is actually a Top 15 driver introduction as Piotr Wiecek was unable to make the call for his bye run in the Top 32 round, so our second battle will be a bye run.
Deane vs. Yoshihara
DEANE LEAD – Deane carries the outside line around the big sweeper, while Yoshihara is just a single car length behind. Both drivers handle the switchback smoothly, Yoshihara sucks in tight to Deane after the switchback and surges ahead again in the second sweeper. Deane definitely has a better line, but the proximity from Yoshihara is impressive!
YOSHIHARA LEAD – Wow, Deane sucks in very tight to Yoshiahra shortly after initiation and keeps the proximity through the sweeper! There’s some visible left foot braking from both drivers, but this is easily the best tandem battle from a proximity perspective all night. Deane leaves just enough room for Yoshihara to transition across the switchback, then sucks in tight into the second sweeper, leaving just a half car length between him and Yoshihara. Yoshihara is a bit wide from inner clip two; Deane is very close behind him, and both drivers cross the finish line with just a few feet between the cars.
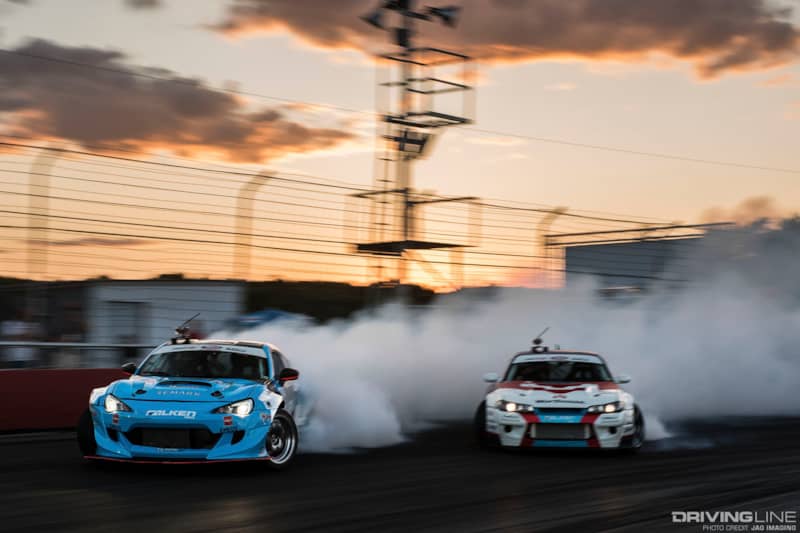
This chase run is proof of why Deane is leading the points! One judge votes for a “One More Time," while the other two judges side with Deane.
Nishida – Bye Run
NISHIDA LEAD – Nishida has been dialing this GTR in progressively over the last few events, and this is definitely the best weekend for him. He’s a bit shy on the steering angle on the switchback, but since it’s a bye run, he’s guaranteed the win.
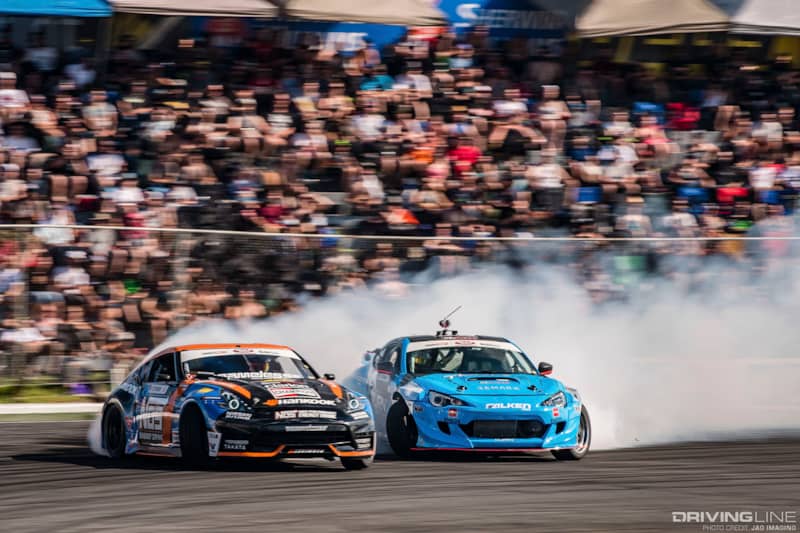
Aasbo vs. Hamilton
AASBO LEAD – Aasbo initiates much earlier than Hamilton and immediately expands the gap up to around three car lengths in the first sweeper. Hamilton takes a shallow line, but still isn’t able to close down the gap. Hamilton takes out the clipping point midway through the back straight and the final clipping point before the finish; this will be a big advantage for Aasbo.
HAMILTON LEAD – Hamilton and Aasbo initiate almost simultaneously; Aasbo is never more than two car lengths behind Hamilton and mirrors the steering angle around nearly every clipping point identically. Aasbo closes the gap down after the second sweeper and crosses the finish line just a car length behind Hamilton.
Looking at the replay, Hamilton was pretty far off all of the outer clipping zones; he didn’t make any major mistakes but was noticeably shallower on his line around the entire course. All three judges vote for Aasbo to move on to the Great 8.
DeNofa vs. Landreville
DENOFA LEAD – DeNofa initiates early, Landreville is shallow on his line but DeNofa crunches his back bumper into the wall shortly after initiation and smashes into the wall. Sparks are flying.
It looks like DeNofa’s suspension broke after the initial contact, and his car is currently sitting on the track without a front right wheel or most of the front right suspension. The tow truck is out to take care of DeNofa; he will clearly need to call his competition timeout to repair his Ford Mustang RTR.
LANDREVILLE LEAD – DeNofa is unable to repair the car, and Landreville makes a bye run to move into the Top 8. The crowd is cheering for Landreville to progress far in the bracket; this is a great day for the Canadian driver so far! All three judges vote for Landreville to move on to the Great 8.
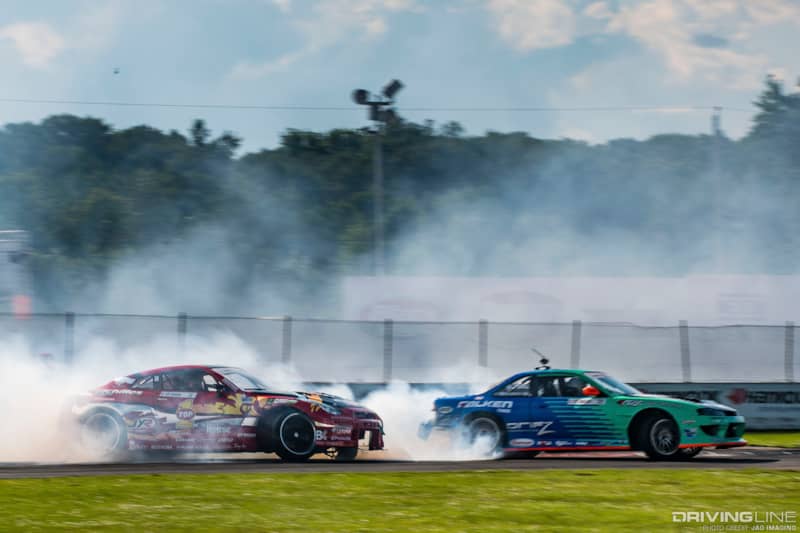
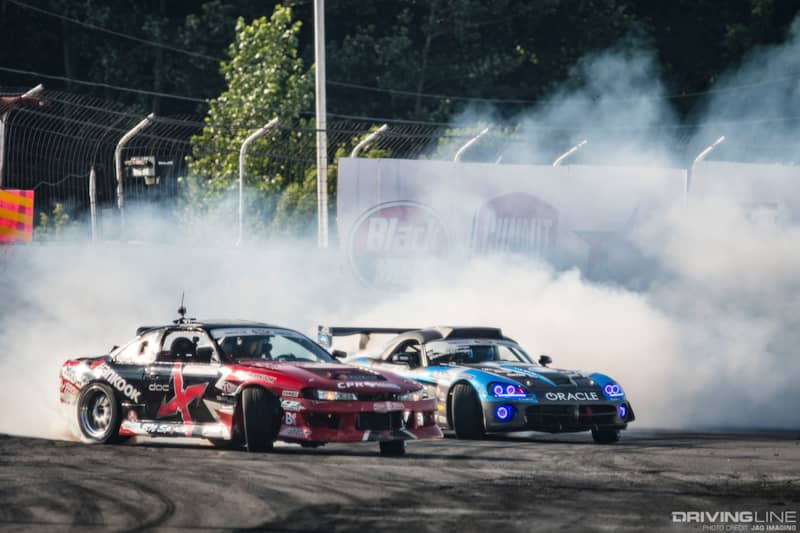
Bluss vs. Coffman
BLUSS LEAD – Bluss initiates several car lengths ahead of Coffman, and while both drivers are slow to get their cars to full angle, Bluss immediately opens up a four car length gap on Coffman by midway through the sweeper. Bluss is deep into the outer clipping zone at the end of the sweeper, has a smooth transition across the back straight, and continues smoothly into the second sweeper with Coffman several car lengths behind him. Coffman briefly closes the gap down to around two car lengths near inner clip two, but Bluss opens up the gap again by the finish line.
COFFMAN LEAD – Coffman initiates and Bluss is immediately on his tail. Coffman briefly opens up a gap, Bluss anticipates the switchback from Coffman and transitions ahead of him on the back straight, masterfully mirroring Coffman’s line. Bluss closes the cap down to just inches from Coffman on two different occasions around the second sweep; this is an absolutely amazing run from Bluss in the chase position!
Coffman doesn’t really make any mistakes, but Bluss is showing an intense amount of car control behind Coffman. One judge votes for a “One More Time," but the other judges vote for Bluss. We will see Bluss in the Great 8.
Field vs. Kearney
FIELD LEAD – Good initiation from both drivers, Kearney is around two car lengths behind Field on initiation but closes that down to a single car length early in the sweeper. Kearney is using his left foot braking to keep the gap manageable between both cars, but makes contact as Field transitions across the switchback. We have a collision! Kearney straightens after the transition and punts Field into the wall in front of the crowd. Wow, that was a hard hit by Field. The car has to be towed to the pits, but the best sign is that Field appears to be OK and was seen assessing damage to the car before they got to the pits.
KEARNEY LEAD – Both cars appear at the line missing front bumpers and hoods; this looks like a demolition derby more than a drifting battle. Kearney initiates and takes a lower line around the first sweeper, while Field initiates a bit later and maintains two car lengths of proximity to Kearney through the sweeper. Kearney adds a ton of angle near the exit of the sweeper. Both cars transition across the switchback smoothly and Kearney enters the second sweeper with an additional car length of gap. Kearney has good angle around the final two turns.
Field doesn’t have the same amount of angle, but given the amount of damage the car has, the fact that he was able to make this run at all is impressive. All three judges vote for Field to move into the Great 8 due to the accident being caused by Kearney.
Pawlak vs. Gittin Jr.
PAWLAK LEAD – Pawlak initiates pretty early. Gittin Jr. initiates several feet later and sucks in tight to Pawlak. Pawlak has a much wider line at the exit of the first sweeper. Gittin Jr. stays shallow to keep close to Pawlak across the transition then rides his door into the second sweeper. Pawlak finishes the last two corners with tons of steering angle. Gittin Jr. takes out both inner clip two and inner clip three with his front bumper. Great run from both drivers; there were reasons for judges to vote for either driver depending on how they emphasize various parts of the track.
GITTIN JR. LEAD – Gittin Jr. initiates around three car lengths ahead of Pawlak. Pawlak takes a shallower line to suck in close to Gittin Jr. and reduces the gap to around a single car length. Both cars slide across the switchback smoothly and maintain a single car length of proximity entering the second sweeper.
Gittin Jr. extends the lead to around four car lengths; Pawlak loses a ton of angle just before the final turn and may have completely lost drift. All three judges vote for Gittin Jr. to move on to the Great 8.
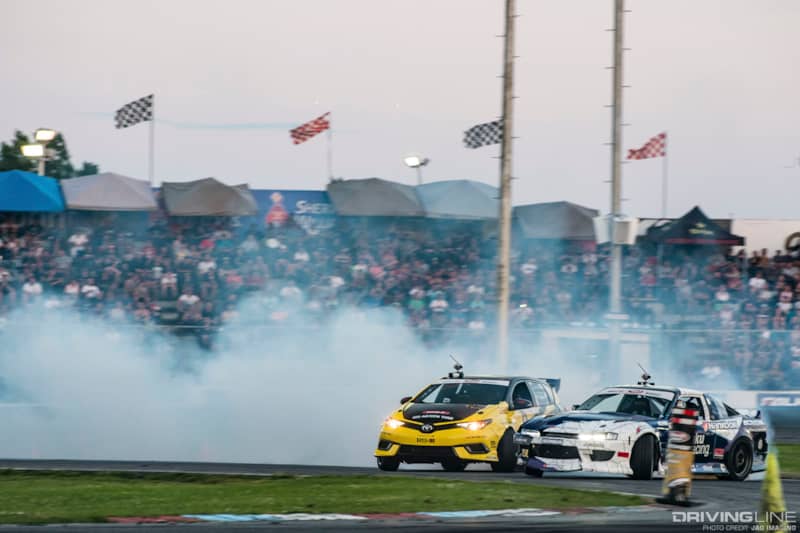
Tuerck vs. Gushi
TUERCK LEAD – Tuerck has a quick initiation but quickly finds himself into the wall. Gushi follows Tuerck’s line and tries to brake late, but loses it and crashes himself. Wow, this track is eating up cars. This will likely be Tuerck’s fault, but it will take some replays and some downtime to decipher who the winner (or biggest loser) is.
GUSHI LEAD – Tuerck is unable to repair his car in the allotted time, which means Gushi has a bye run. All three judges vote for Gushi to move on to the Great 8.
NOS ENERGY DRINK GREAT 8
Deane vs. Nishida
DEANE LEAD – Deane initiates on the high line and has a great line around the sweeper, while Nishida is much later to initiate, has a much shallower line, and much less steering angle. Deane exits the sweeper with around a three car lead, Nishida closes the gap to around two car lengths, but Deane extends it back to four car lengths by the end of the course.
Nishida didn’t make any mistakes other than having a shallow line in the first sweeper, but Deane’s ability to pull away from Nishida will likely give him the advantage.
NISHIDA LEAD – Nishida and Deane initiate at almost the same time, and while Nishida is on a better line around the sweeper, Deane is staying within two car lengths of Nishida while riding the left foot brake around the entire sweeper. Deane shows much more angle coming across the switchback, then immediately sucks back in tight to Nishida around the second half of the track. Nishida has a brief brake tap midway through the second sweeper, but Deane mirrors his moves almost perfectly around the course.
Again, no major mistakes from Nishida, but Deane’s chase run is just awesome! All three judges vote for Deane to move on to the Final 4. As the top qualifier, Deane is guaranteed a podium finish.
Aasbo vs. Landreville
AASBO LEAD – The crowd is absolutely roaring before this tandem battle starts, they love their hometown driver! Aasbo has a very snappy initiation, while Landreville’s initiation is a bit slower. Landreville is only a single car length from Aasbo by midway through the sweeper, but Aasbo extends the proximity to around three car lengths by the exit of the turn with an impressive amount of steering angle. Landreville uses a shallower line to close the gap down after the switchback, then stays super tight to Aasbo around the final two turns. Landreville took out the final two clipping points, but the proximity he was able to keep on Aasbo looked fantastic!
LANDREVILLE LEAD – Landreville has a much quicker initiation on his lead, but Aasbo mirrors the initiation almost perfectly. Landreville has some impressive angle and opens up a nice gap on Aasbo through the sweeper, but Aasbo closes it down across the switchback and into the second sweeper. Landreville definitely has bigger steering angle entering the second sweeper, but Aasbo keeps the gap very close around the final two turns.
This is easily one of the best pairs of runs we’ve seen all night, and the fans are chanting to see these guys run "One More Time." We have one vote for a “One More Time,” while two judges vote for Aasbo to move on. The fans boo the decision, but Aasbo was definitely the more consistent driver through both runs. A great showing from the Canadian driver Landreville; we hope to see him at more events throughout the season!
Bluss vs. Field
BLUSS LEAD – Bluss initiates on the high line while Field is a bit shallower. Bluss extends the lead to around four car lengths; it’s pretty clear that Field is down on power (and is also missing a hood, front bumper, headlights, and who knows what else). Field briefly closes the gap down to around tow car lengths after the switchback by taking a shallower line, but Bluss extends the lead again through the second sweeper. The steering angle that Bluss is able to add around the final turn is impressive! He’s looking like the driver to beat at this point.
FIELD LEAD – Field initiates a bit later than we’ve seen from some of the other drivers, but still has good steering angle and speed. Bluss is around two car lengths behind Field, but otherwise has a slightly higher line. Field has a smooth transition across the switchback and carries good angle around the final two turns. Bluss doesn’t close the gap down much despite having a much faster car, but definitely has a better line and similar if not better steering angle across both runs. All three judges vote for Bluss to move on to the Final 4.
Gittin Jr. vs. Gushi
GITTIN JR. LEAD – Gushi was unable to repair his car, which gives Gittin Jr. a bye run into the Final 4. Gittin Jr. lays down a full pass with tons of tire smoke. Unfortunately, Gittin Jr. appears to have broken something on this run and has to be pushed off the track at the end of the run.
BLACKVUE FINAL 4
Deane vs. Aasbo
DEANE LEAD – These drivers are very familiar with each other as they have competed against each other for many years in Europe. Deane initiates very early, Aasbo initiates much later but immediately sucks in tight to Deane. Both drivers utilize a ton of left foot brake around the entire sweeper. Aasbo is never more than a car length away from Deane and appears to be just inches from Deane at a few times during the sweeper. Deane has a ton more steering angle across the switchback and briefly extends the lead, but Aasbo uses the shallower angle to close the gap again entering the second sweeper.
Deane dumps some big angle after the final transition, while Aasbo remains just a single car length from Deane. Wow, this is an impressive run from both drivers!
AASBO LEAD – Aasbo has a good initiation, Deane isn’t as early on this initiation but closes the gap quickly. Deane is just inches from Aasbo around the sweeper, both drivers mirror each other across the switchback, then Deane dumps some huge angle entering the second sweeper. Aasbo uses the big angle to pull away from Deane, opening the gap up to around five car lengths around the final two turns.
Deane was definitely the more stylish driver, but the loss in proximity was very noticeable as they crossed the finish line. All three judges vote for Aasbo to move on to the Final Battle. Deane will earn the final podium position due to his qualifying results, which will be his third of the season.
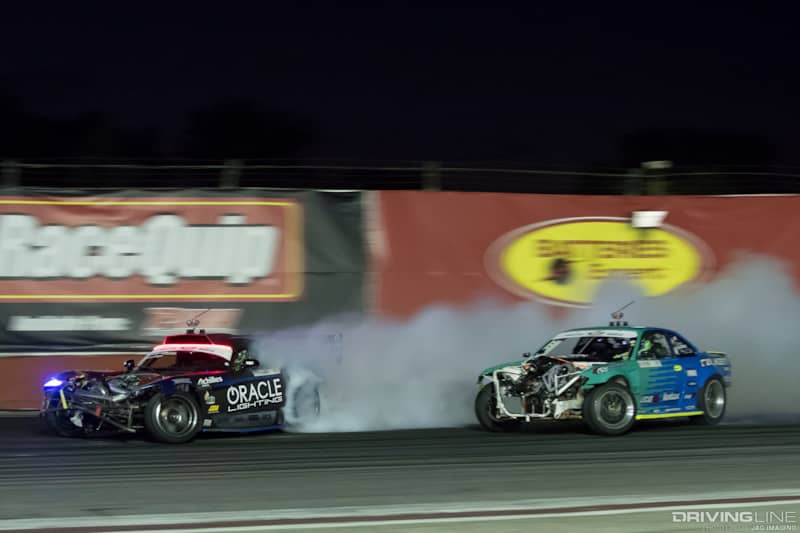
Bluss vs. Gittin Jr.
BLUSS LEAD – We find out that Gittin Jr. blew off the belt of his oil pump during his bye run, and the car ran for almost 12 seconds at wide open throttle with no oil pressure. With the short two-week turnaround to Seattle, Bluss will have a bye run into the Final 4. Bluss uses the bye run to eliminate a set of tires from his trailer, making a full pass with tons of tire smoke and steering angle. This is Bluss’s third consecutive podium; he’ll be battling Fredric Aasbo for the Final Battle!
BLACK MAGIC FINAL BATTLE
Bluss vs. Aasbo
BLUSS LEAD – Bluss has another great initiation and has one of the highest lines along the wall of the big sweeper that we’ve seen all weekend without a major crash. Aasbo has a good initiation and line around the bank, but is around a car length and a half behind Bluss. Bluss shows big steering angle across the switchback and pushes big steering angle again into the second sweeper. Aasbo is around tow car lengths back at this point. Aasbo finally closes the gap down near the second inner clip. Bluss’s car stalls while transitioning around the final turn, and Aasbo makes contact.
Looking at the replay, this looks like there might have been a mis-shift or just a poorly timed e-brake pull that caused Bluss’s car to stop mid-transition, but likely the fault of Bluss for the collision.
AASBO LEAD – Bluss calls his competition timeout. The team looks over the car, but doesn’t look like any repairs were made. Fault was given to Bluss, but anything can happen in this run. Aasbo has a smooth and snappy initiation again, high on the wall, while Bluss has a late initiation but sucks in very tight to Aasbo very early in the sweeper. Bluss may have tapped Aasbo midway through the sweeper, but it doesn’t affect Aasbo at all. Wow, these cars are just inches from each other exiting the highest speed portion of the course; Bluss definitely isn’t holding back on this run! Bluss taps the inner clipping point on the switchback, then makes contact with Aasbo just before the second sweeper.
Bluss continues drifting briefly, but then shuts it down and circles back to check in with Aasbo. There’s a large hole in Aasbo’s door; this will likely be the fault of Bluss.
ROUND 5 FINAL STANDINGS
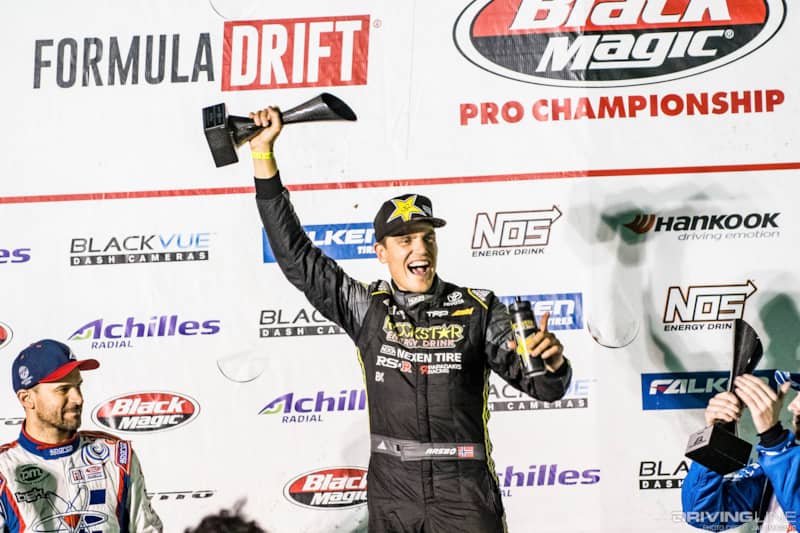
We have a winner! The final three drivers are brought in front of the crowd, where Fredric Aasbo is announced as the winner. This is Aasbo’s 10th event win, which makes him the winningest driver in Formula Drift history. This is only the 93rd event in Formula Drift history, and even more incredibly, this is only the 53rd event that Aasbo has competed in.
Aasbo moves up to second in the Championship chase, while Bluss moves into third place overall. Deane holds a narrow 34-point lead over Aasbo, but a more substantial 75-point lead over Aasbo. Essa, who previously held the second position entering this event, drops to fourth place overall, 109 points behind Deane, while Tuerck sits in fifth place, 121 points back.
Formula Drift slides into Evergreen Speedway for the Throwdown in Monroe, Washington, in just two short weeks.